It wouldn’t be an exaggeration to say that we’ve seen dozens of posts asking about easy dash camera installations that don’t cost much. We’ve all but beaten the topic of dash camera quality to death and have reviewed and analyzed several solutions from Momento and Thinkware. Based on the results of our testing, the words “inexpensive” and “dash cam” don’t belong in the same sentence.
Looking at the installation side, an easy installation would have the camera suction-cupped to your windshield and the power wire hanging down and plugged into the cigarette lighter socket—by the way, the proper term is now “Power Outlet.” From the standpoint of integration, this solution isn’t integrated at all. The wire is a safety hazard as it can be distracting. Trusting the camera mounting to a suction cup isn’t ideal either. Notably, no rear camera is present to capture what happens behind your vehicle. Not all accidents are going to happen in front of you.
We have decades of experience upgrading audio systems in cars and trucks. As such, we are more than capable of installing a modern dash camera system to a level that matches our standards. However, Ben and, more specifically, Ted from Safe Drive Solutions volunteered to handle the installation and permit us to document the process. Let’s check it out!
Pre-Installation Vehicle Preparation
Whenever you take your vehicle to a mobile enhancement retailer for upgrades or a service center for repairs, clean it out. Ensure there is nothing on the floor, in the cup holders, the back seat, or the cargo area/trunk. Anything left there must be moved, wasting the technician’s time. The goal is to clean the interior so the technician doesn’t have to deal with spilled coffee or stray french fries. Though this should be common courtesy, it often isn’t, so please heed this reminder.
Second—and this is something we obsess about—ensure your battery is fully charged. The technician will need a few hours to route wiring from the rear camera to the front unit and from the camera to a power source. The doors will be open most of this time. A battery that isn’t fully charged may not start the vehicle after the work is complete. We left our CTEK MUS7002 battery charger connected to the battery while Ted worked his magic.
Some shops have battery chargers for each vehicle they are working on. Ask the shop if they charge the vehicle battery while the doors are open.
Vehicle Protection Prevents Disasters
Most insurance policies don’t allow consumers to access the vehicle while work is underway. Having the vehicle owner hovering around the car during the work is a colossal distraction and liability.
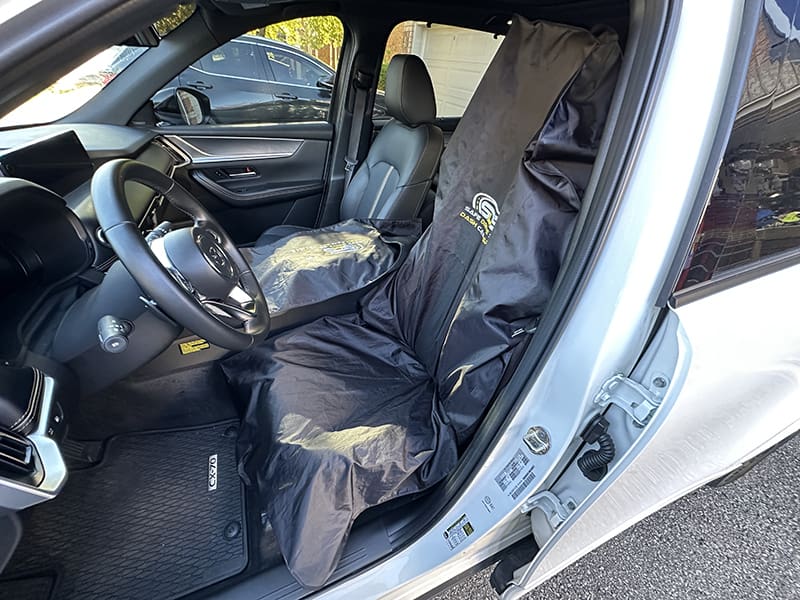
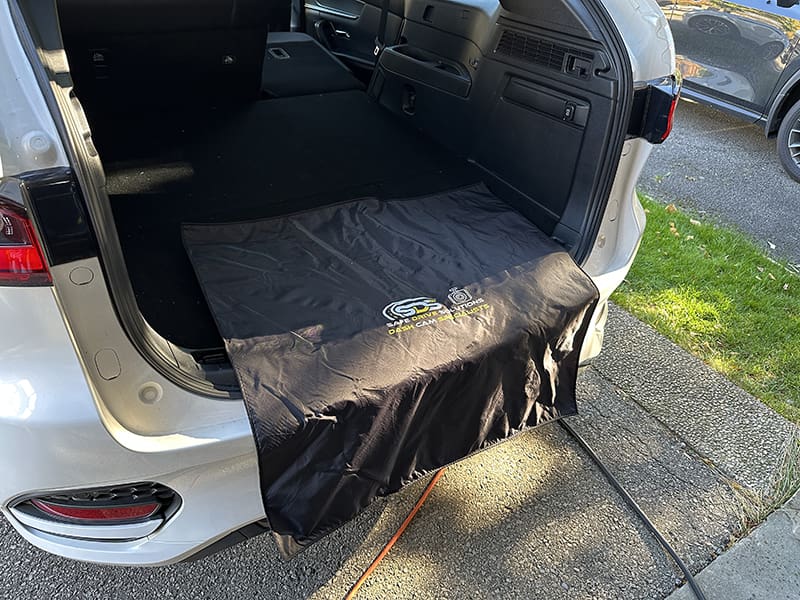
When shopping for the best shop to work on your vehicle, you should ask whether they use seat, fender, or other protective covers while working. Accidents happen, and having a cover over the seats, steering wheel, and center console can prevent costly repairs. This is the attention to detail you want to see in every step of the upgrade process.
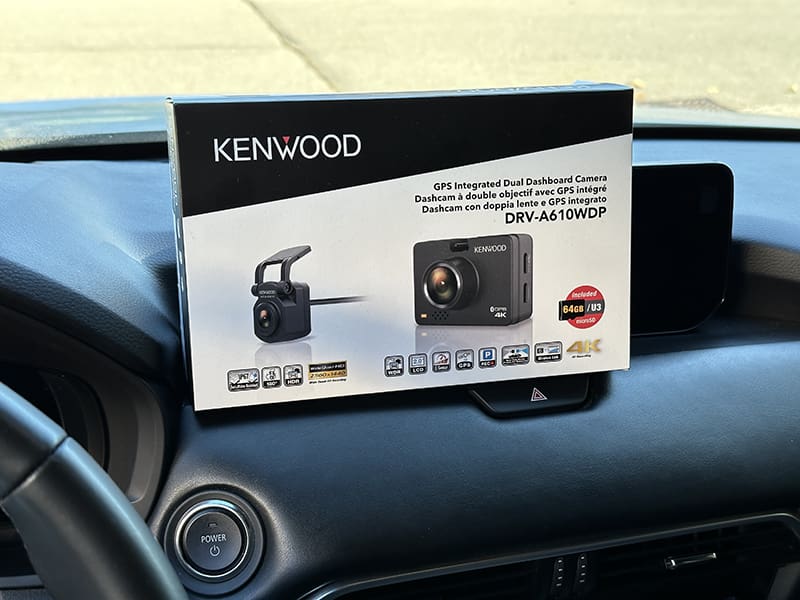
Pick the Right Dash Camera
Finally, make sure you’ve picked the camera you want. There are dozens of considerations when choosing a dash cam. What resolution are the image sensors? How does Parking Mode work? Does the camera offer HDR? How much current does the camera draw? What’s the image compression method? How large of an SD card will the camera accept? What is the field of vision? Does the camera have an LCD screen? Does the camera have Wi-Fi connectivity? There are probably another half-dozen essential questions you’ll want to ask the Product Specialist before you agree to the installation. Ensure the camera will do what you want and behave how you want before you consider booking the installation appointment.
Rear Camera Installation
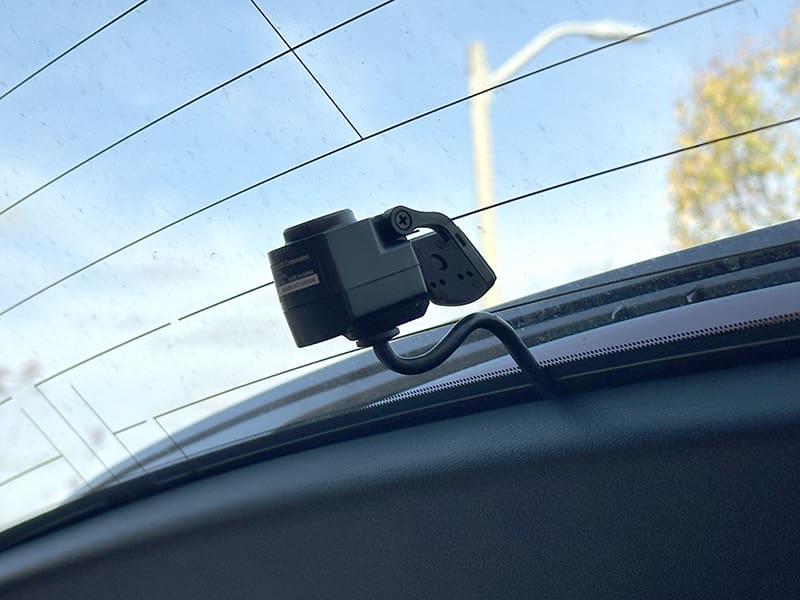
Let’s dive into the nitty-gritty of this installation. Ted started with the rear camera. In this case, the rear camera in the kit is water-resistant and has an IP67 rating. Even though it would survive on the vehicle exterior, we wanted the camera mounted inside the rear window to keep the lens clean. Mounting it externally would be ideal for a delivery or cargo van without a rear window.
Dash Camera Installation
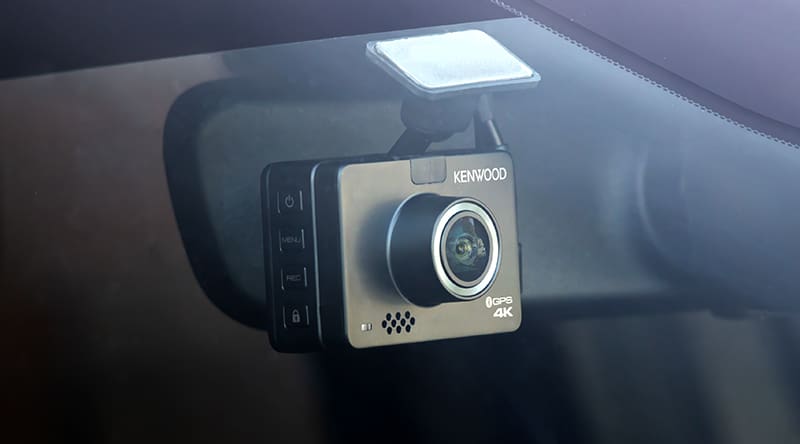
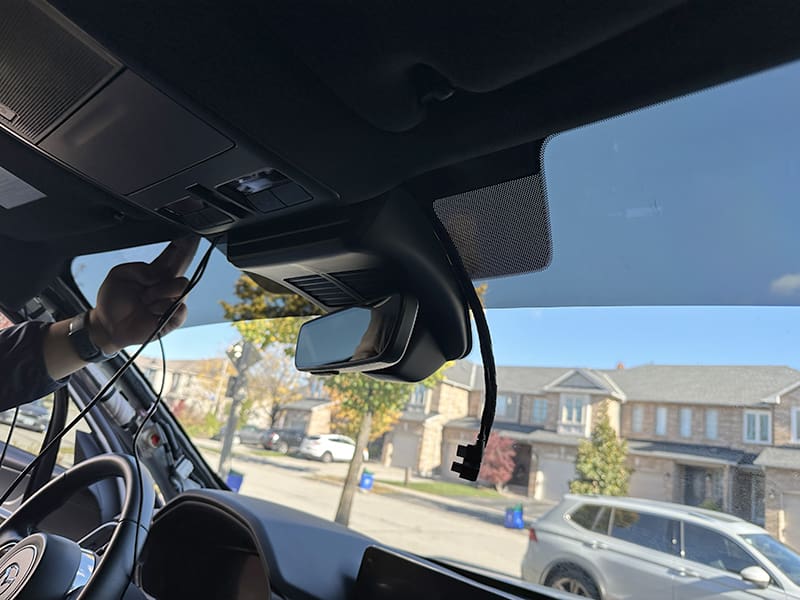
The next step is to pick a location for the front camera. We wanted the camera hidden from view, so we chose the passenger side of the windshield. This location conceals the camera behind the rearview mirror. While we can set the display to turn off to reduce distraction, this location also prevents the camera from blocking any of our field of vision.
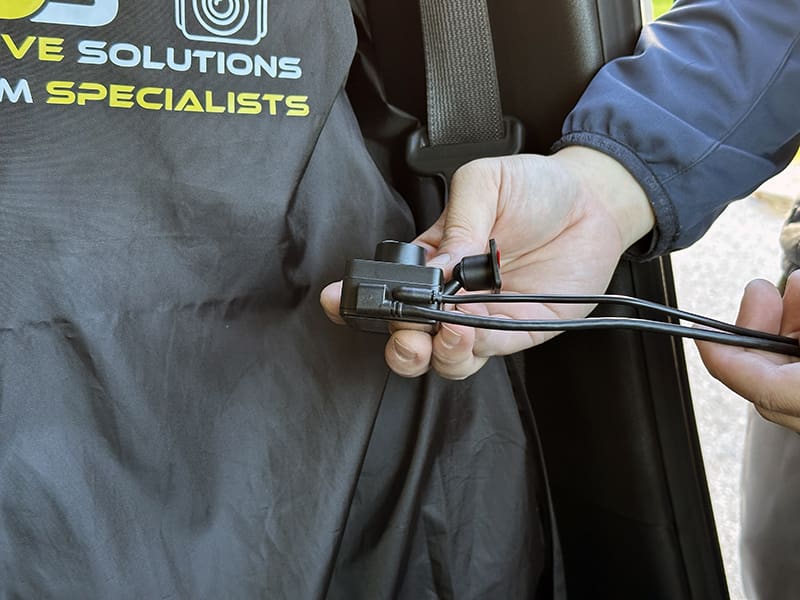
Someone at Kenwood put more than a moment of thought into the design of the connectors on the side of the camera. They are both low-profile right-angle units, which reduces the camera’s visual footprint compared to something with a power cord that sticks straight out. Nice work!
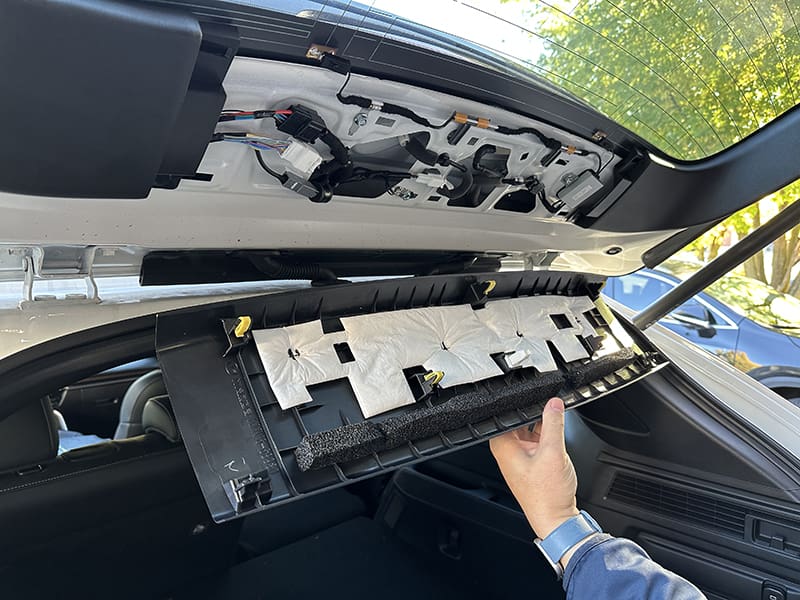
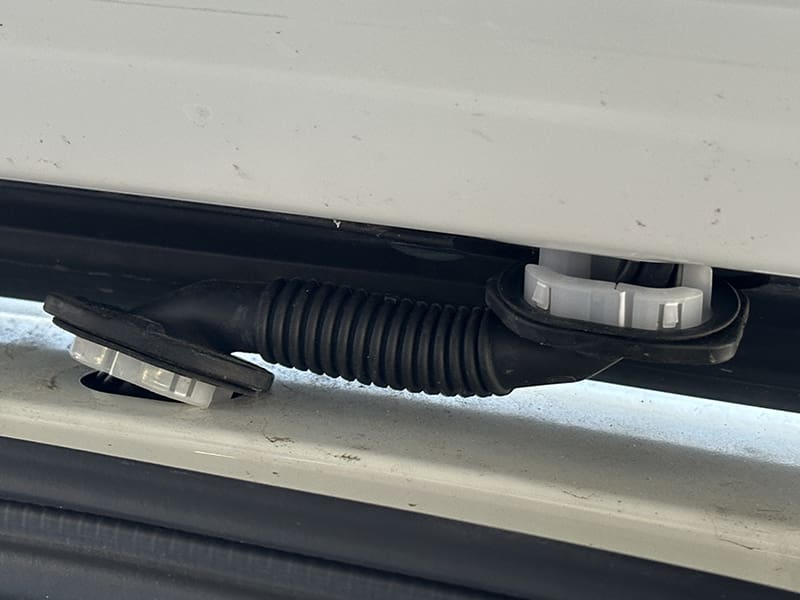
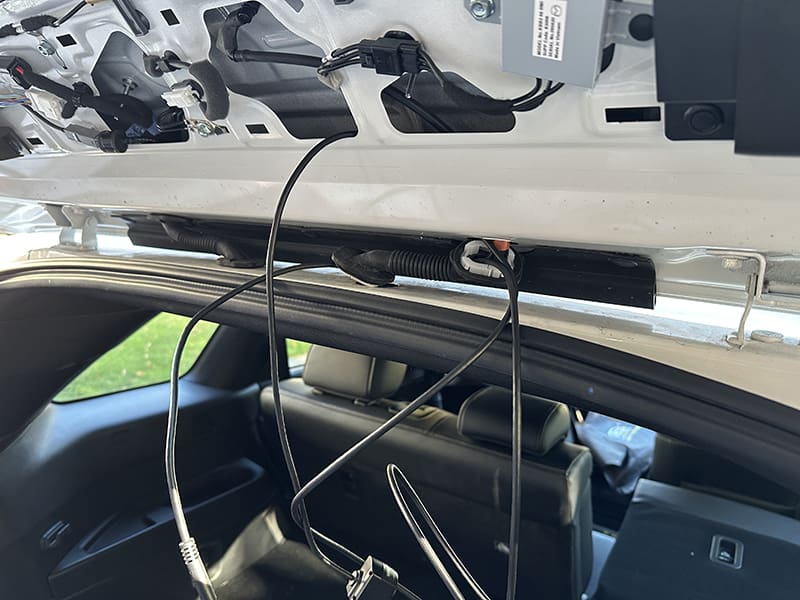
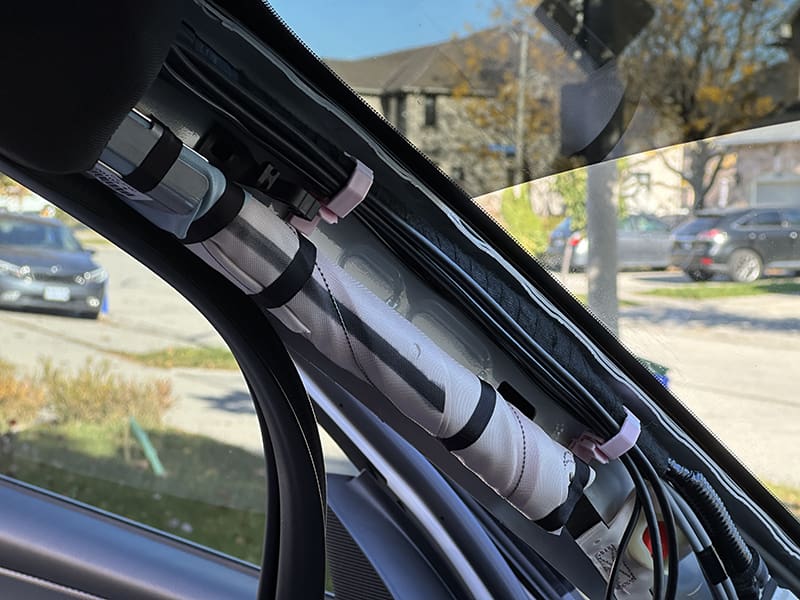
Ted bundled the power harness and the rear camera cable together using automotive-grade cloth tape. This makes the installation much neater than using zip-ties or electrical tape. He has small wire-routing tabs he can stick to the windshield or trim if needed, but the wiring naturally stayed right up against the rain sensor and Lane Keep Assist camera pod at the top of the windshield.
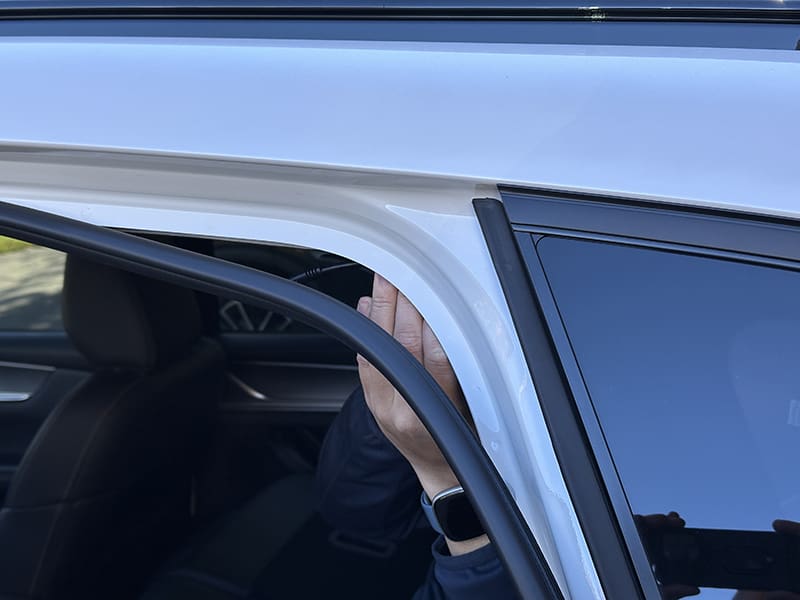
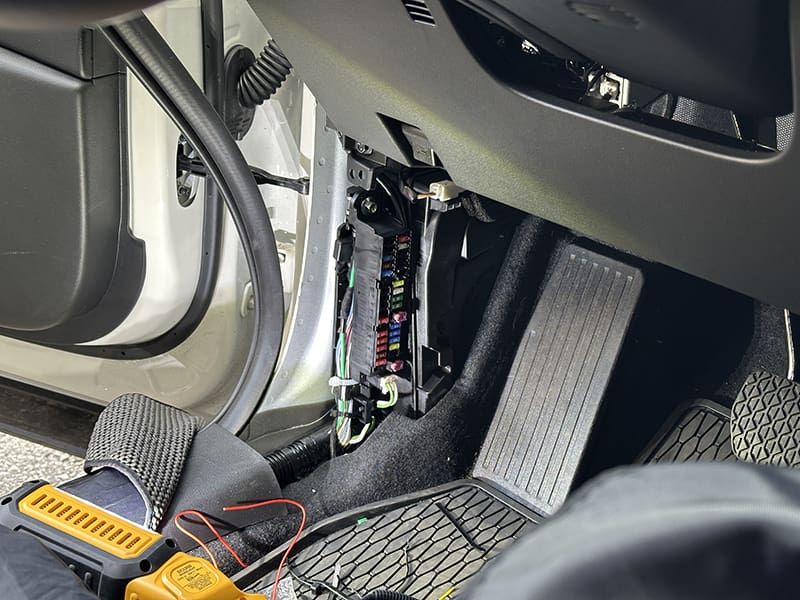
Perhaps one of the most important aspects of a dash camera installation is how the wiring is routed down the A-pillar. Most vehicles have a side-curtain airbag. You don’t want any wiring to interfere with this safety device. As such, the wiring should be installed with the factory wiring that runs behind the bag.
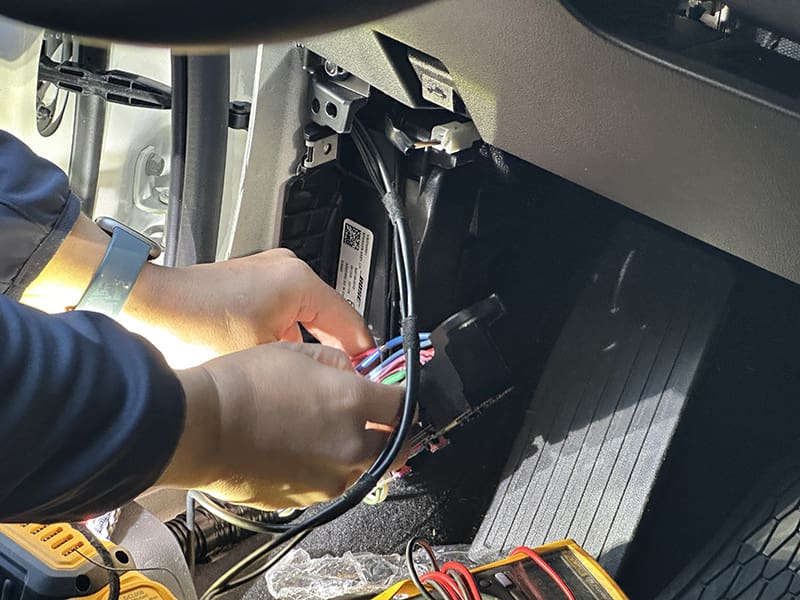
Dash Camera Electrical Connections
We could write a full essay on the benefits and drawbacks of how electrical connections for the camera are made. In this instance, Ted had already researched where to get constant power, accessory, and ground wires in the factory wiring. As any good technician should, he used a high-quality multimeter to test that the wires functioned as he expected before going forward. Once satisfied, he stripped the jacket off the wires and soldered the connections from the Kenwood hardwire kit to them. The connections are protected with automotive-grade tape. No wiring should ever be visible around the fuse panel, around the door seal or A-pillar trim, or across the top of the windshield.
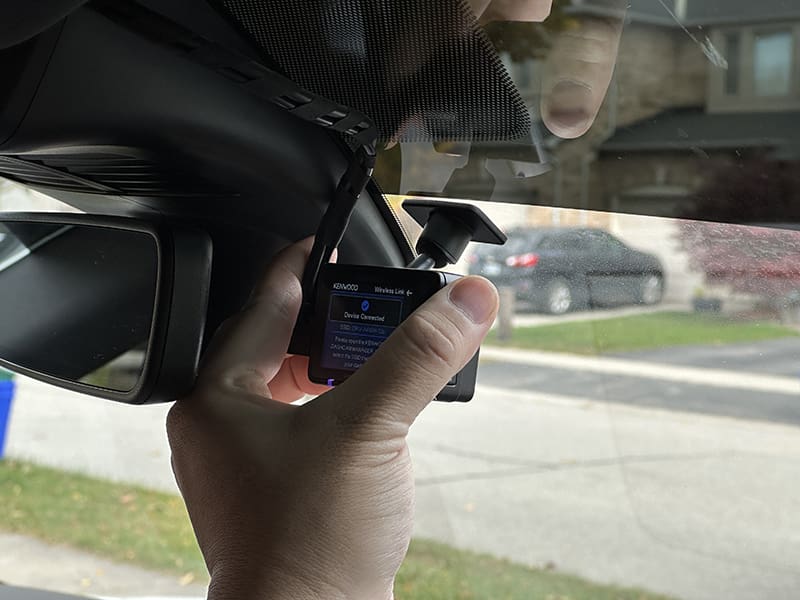
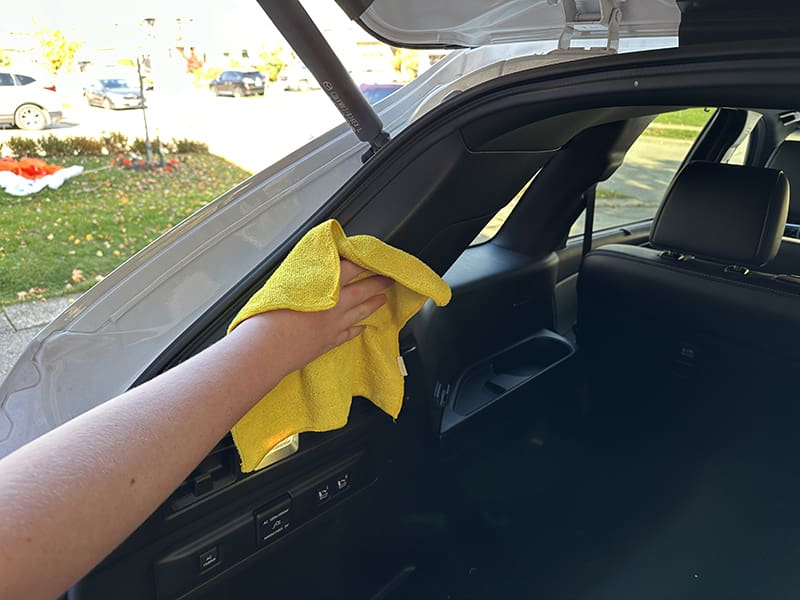
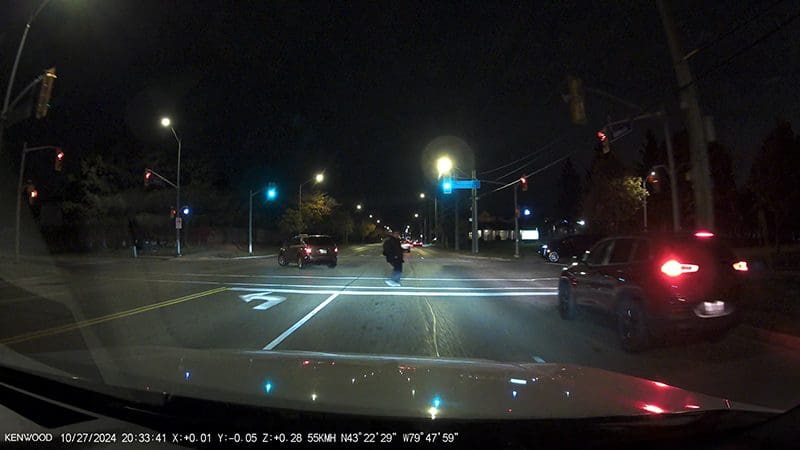
The Kenwood dash camera has a color display on the back and can provide a real-time view on a smartphone using the Kenwood Dash Cam Manager app. We looked at the image on our smartphone as we picked a final installation location for both the front and rear cameras. Once chosen, he thoroughly cleaned the glass using alcohol wipes to ensure the two-sided tape would remain secure.
Camera Configuration
Wiring and mounting a dash camera are only three-quarters of the project. Ted set the time and date on the camera and turned on the date stamp feature. We then discussed whether we wanted parking mode enabled and reviewed the different configuration options in the smartphone menu. It was clear that he’d done this hundreds of times.
Even though we have extensive experience with dash camera configuration and testing, he offered to explain how the sensitivity settings are adjusted for impact detection. Furthermore, he ensured we could connect the phone to download videos. We had it covered, but these processes separate the paid amateurs from the true professionals.
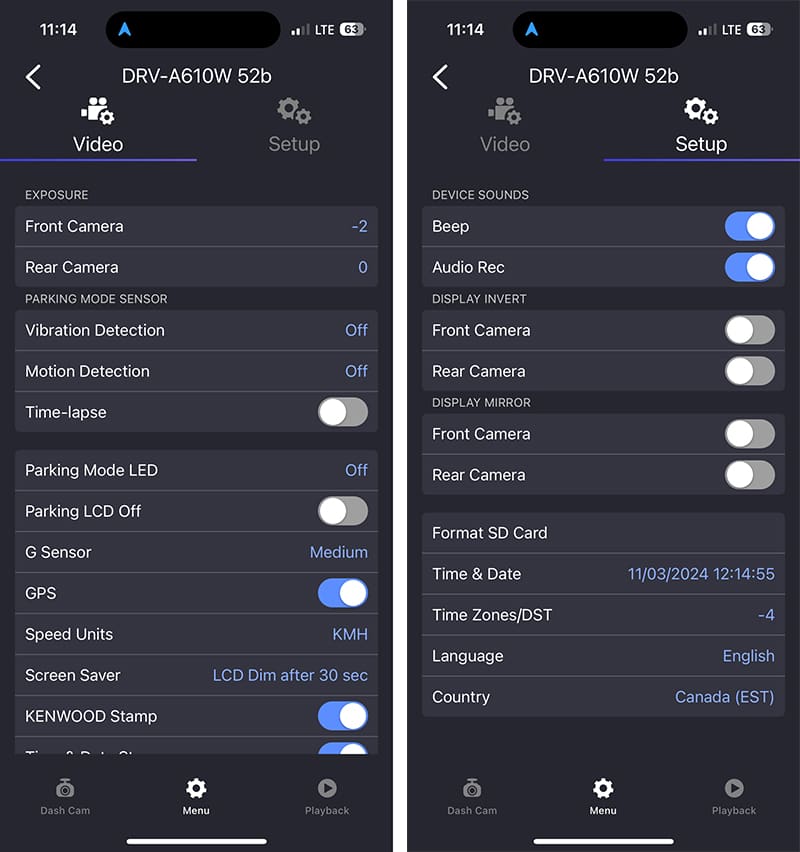
We finished by ensuring the camera powered up and down correctly as the ignition was turned on and off. Ted mentioned that the wire color codes on some wire harnesses don’t match industry standards, so he always tests the system thoroughly before he calls the job done. We know for a fact many shops overlook this simple step.
After-Installation Clean-Up
What impressed us the most was that Ted went through the entire working area with a damp cloth and interior detailing cleaner to ensure there wasn’t a speck of dust or fingerprints left behind. He also ensured there were no wire jacket strippings or zip tie ends on the floor where he worked. He also repacked the camera boxes so we had all the owner’s manuals and warranty information in one place. He finished the project by presenting his business card and letting us know he was available for any questions or concerns.
Professional Dash Camera Installation
The camera installation and configuration took about two hours to complete. Ted says that’s pretty much normal for modern vehicles. Systems with only a front camera take less time, and systems with three or more cameras are more involved. Adding an external battery like the Thinkware iVolt Xtra can also add time to the project. We are considering a battery pack upgrade in the future.
As we have repeatedly harped on, shopping for a professional to work on your vehicle is no easy task. We’ve known Ben at Safe Drive Solutions for decades and knew that if he was confident enough to partner with Ted, his attention to detail and processes would meet our high dash camera installation standards. He delivered in spades. This article should provide a good set of questions to ask when shopping for someone to integrate a dash camera system into your vehicle. Please don’t skimp on the quality of the camera you choose or who installs it.
