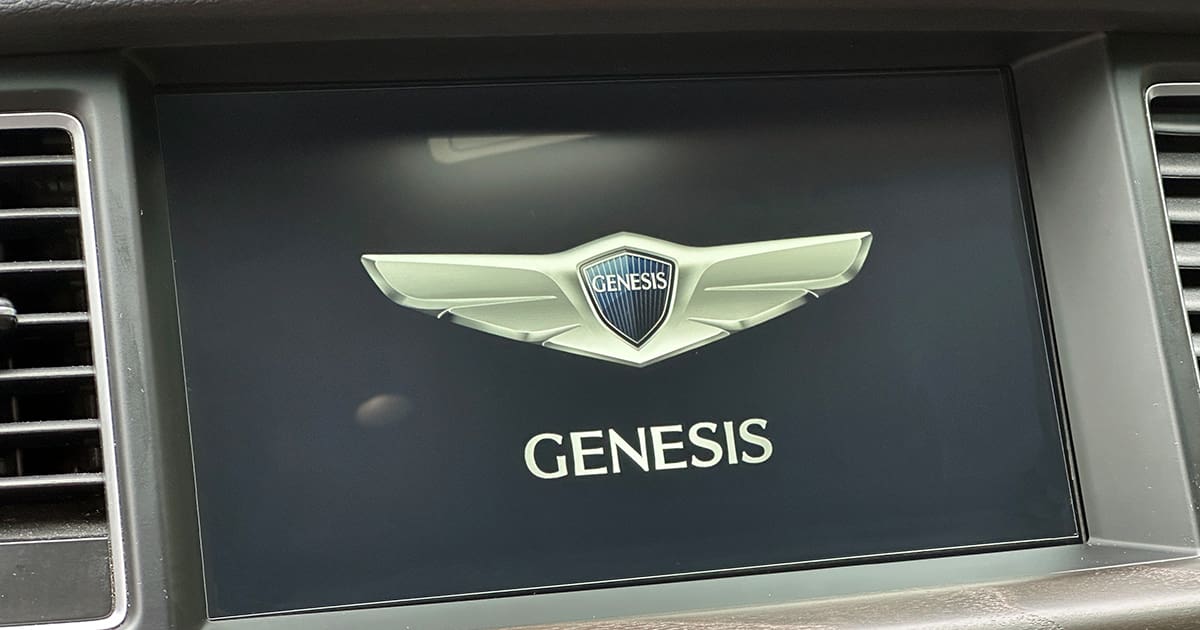
In the fall of 2023, we experimented with restoring the touch element on the front of a car radio. Based on the results with the sample screen, a gentle polish with Brasso or Meguiar’s Ultimate Compound did a good job removing the haze that was hindering visibility and glare. Based on those results, dare we experiment with the $2,300+ screen in the dash of a modern luxury vehicle? Please take a deep breath and join us to see how this plays out.
The Problem
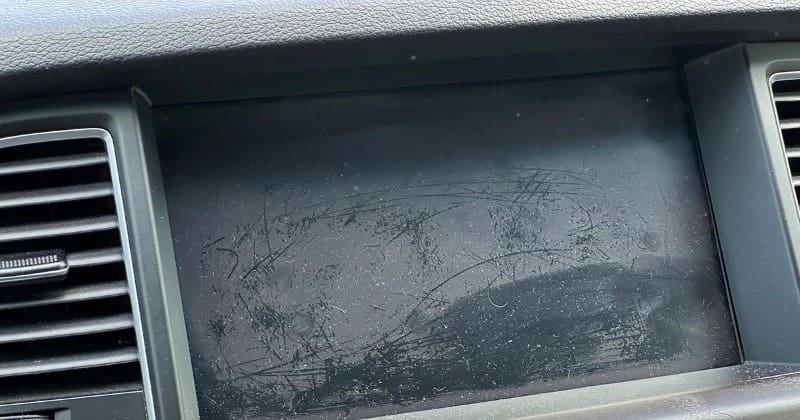
This 2015 Hyundai Genesis 5.0 Ultimate has spent the entirety of its nine years outdoors. Sadly, the garage it might reside in is full of tools and the kids’ bicycles. Even with good-quality ceramic window tint film on the car’s windows, the touchscreen is starting to look pretty rough. There is a haze over most of the screen with lighter areas, possibly worn away from contact with the driver and passengers’ fingers. It should be noted that the rotary encoder in the center console, the steering wheel mounting buttons and the built-in voice recognition for the navigation system negate the need to touch the screen frequently. However, sometimes an old-fashioned tap or two is the fastest way to get what you want.
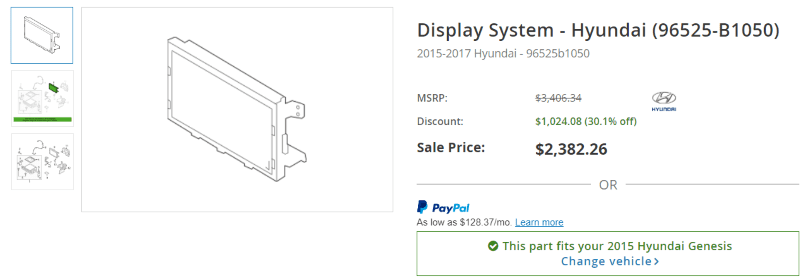
Our hypothesis about the degradation of the screens is that the top plastic layer of the touch interface is oxidizing, much as you’d experience with a cheap plastic lawn chair left outside in your backyard or at the cottage. This is the same chemical process that causes the black unpainted trim around the wheel arches or bumpers to turn gray over the years.
The Plan and Execution
Based on the results of our experiment, we plan to remove the screen from the vehicle and attempt to polish off the oxidization that has built up. If we can achieve a near-perfect finish, we’ll add an anti-glare screen protector.
After consulting with an industry friend who has access to Mitchell 1 ProDemand, we had the instructions required to disassemble the dash trim and remove the panel. Modern vehicles can be tricky, even for a person with decades of experience working on cars and trucks. The plastic clips that hold trim pieces to the dash are designed to be tight so that nothing buzzes or rattles. Even if you’re experienced in basic mechanical repairs, this task is something you might want to leave to a professional, if for no other reason than that they are responsible if something cracks or breaks. The four trim pieces we took off the Genesis dash are stunningly overpriced.
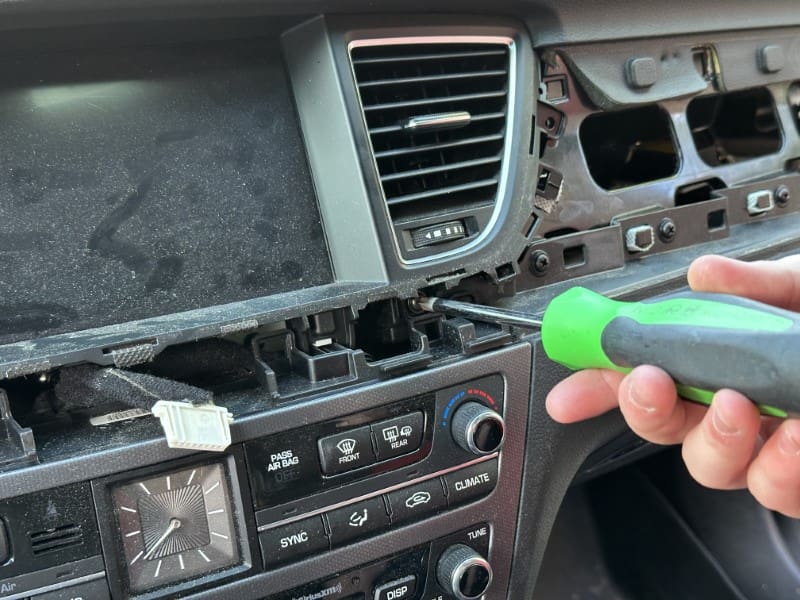
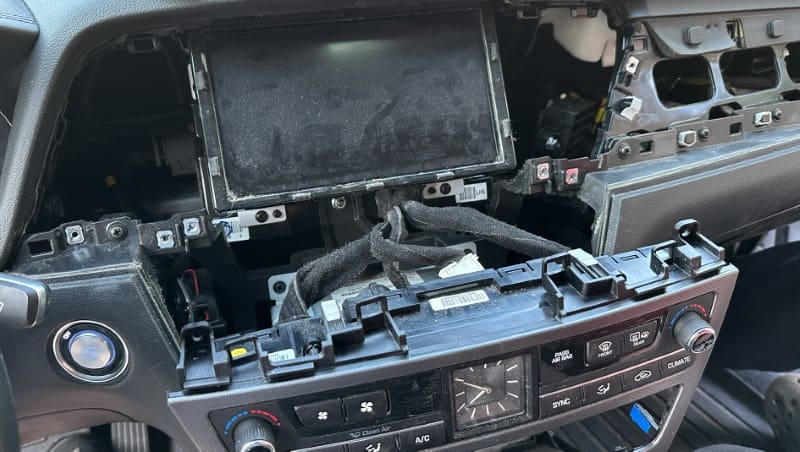
It took about 45 minutes to safely remove the trim pieces. Each part was stored on a table covered with a blanket so that it wouldn’t be damaged or scratched while out of the vehicle. Once the screen was out, we took it to a work area and put down a cloth to protect the tabletop from damage from the stamped steel brackets.
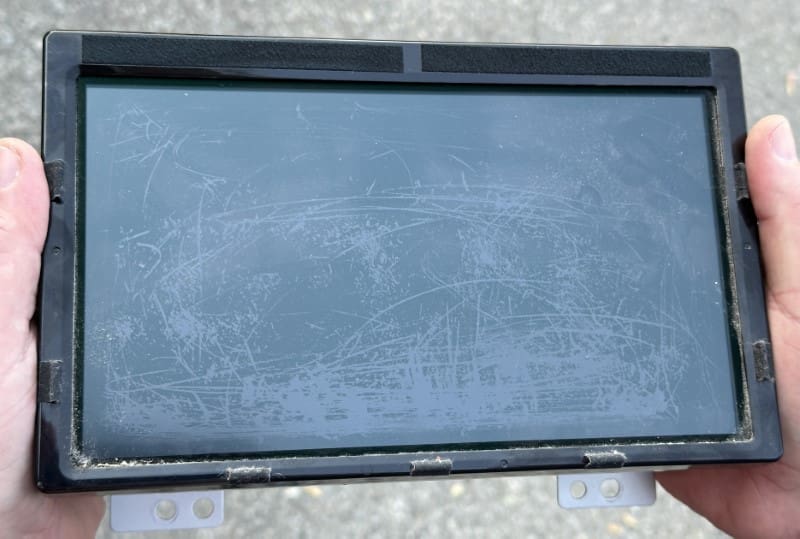
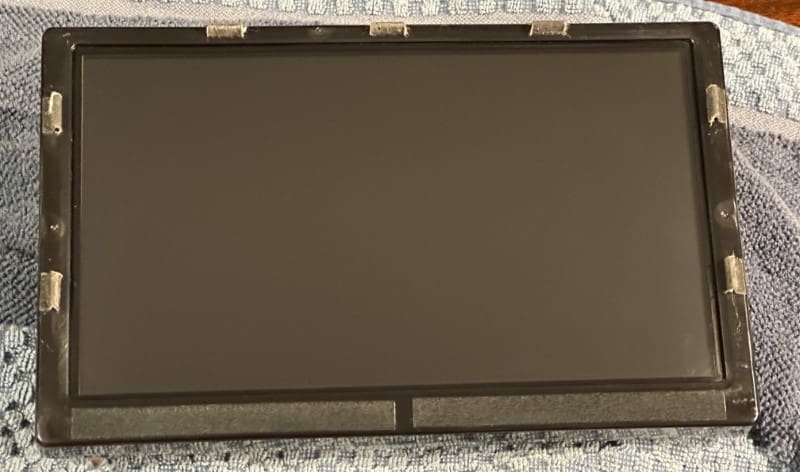
After contemplating the options, we decided to use Brasso on a moistened paper towel to do the repair. In retrospect, a microfiber cloth would have been a much better choice. Within seconds, the paper towel started to load up with a black substance. We moved to a clean section and added more Brasso to reduce the chances of the screen being scratched.
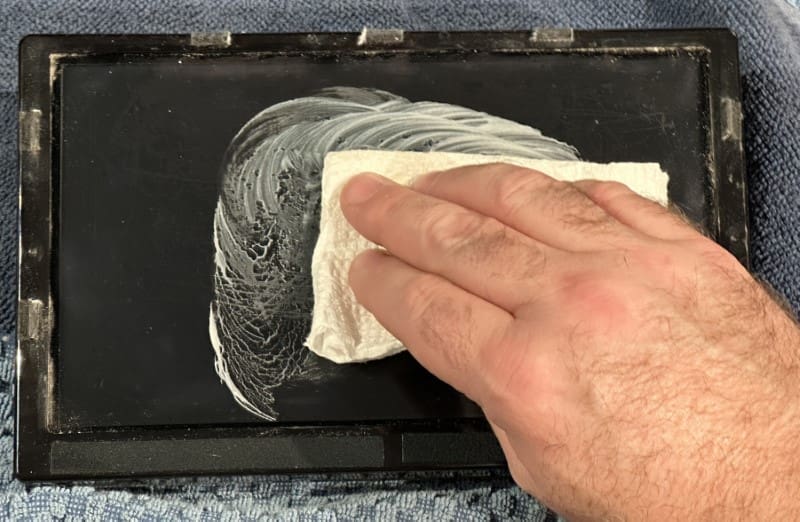
After a quick wipe with a microfiber cloth, we knew immediately that things were headed in the right direction. The display was crystal clear once again. We finished it off and wiped it down thoroughly for a quick inspection. We noticed several areas along the edges and in the corners that still had a green tint to them. This must have been the original anti-glare coating. Not attending to this would have left the project looking amateurish and incomplete. We applied Brasso to the end of a cotton swab and gently started polishing the edges and corners.
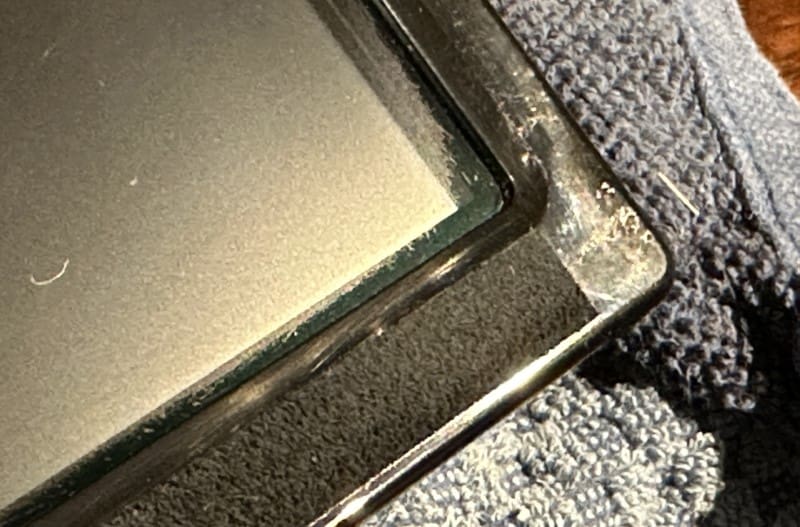
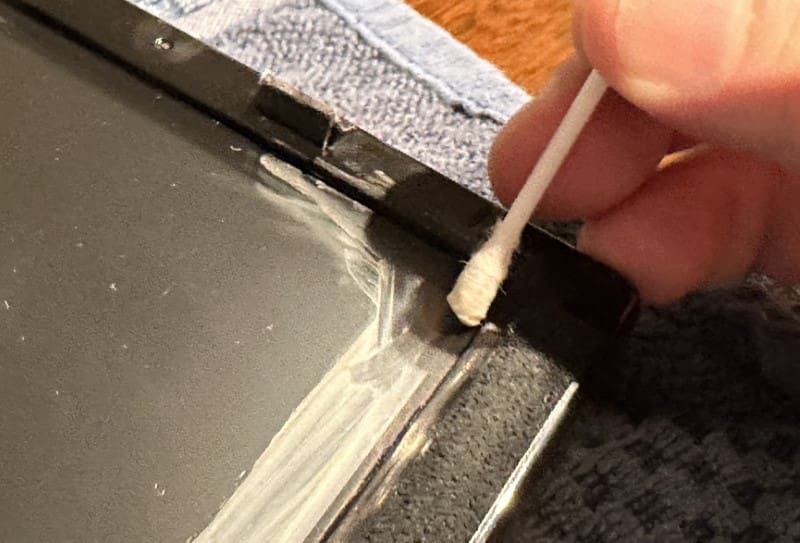
One thing to be very aware of is that you don’t want any of the Brasso to get under the plastic trim around the edge of the display. Having worked on hundreds of touchscreens over the decades, I know that the build-up of chemicals around the edge can lead to issues with the accuracy and reliability of the touch element.
The Protection
Satisfied with the polished finish, we moved on to the next step of adding a new anti-glare solution. We chose to go with the DayVue solution from NuShield. They had an exact solution pre-cut for the larger display of the 2015 Genesis Ultimate. At less than $23, the price seemed fair.
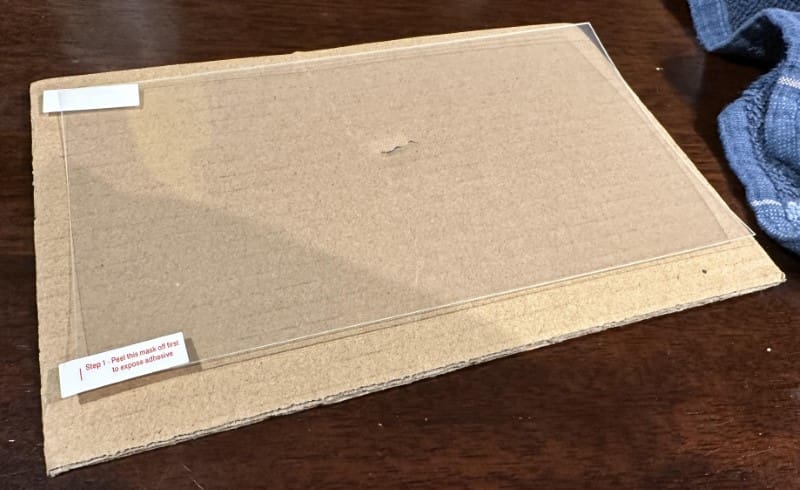
The cover arrived a few days later. The film was taped to a piece of cardboard to protect it. The kit included two pre-moistened cleaning wipes, a drying wipe, a cleaning cloth and the ever-important instructions. Having written and designed many owner’s manuals for car audio products, we thought we’d eschew the status quo and give the instructions a read. There weren’t any surprises, but we were glad we read the instructions.
Our concern was getting the screen clean and keeping dust off it so we could apply the film. We were cringing that a speck of dust and an air bubble would be trapped, and the whole thing would look terrible. Thankfully, everything seemed to go as planned, and as per the instructions, we worked out the air bubbles before removing the top protective coating.
The Results
With the display restored, it was time to put it back into the vehicle, reconnect all the wiring and reassemble the dash trim. Of course, we took the time to wipe all the dust off the dash as we put everything back together. As quiet and comfortable as the Genesis is, we enjoy driving with the windows down, which bumps up the need to dust the dash frequently.
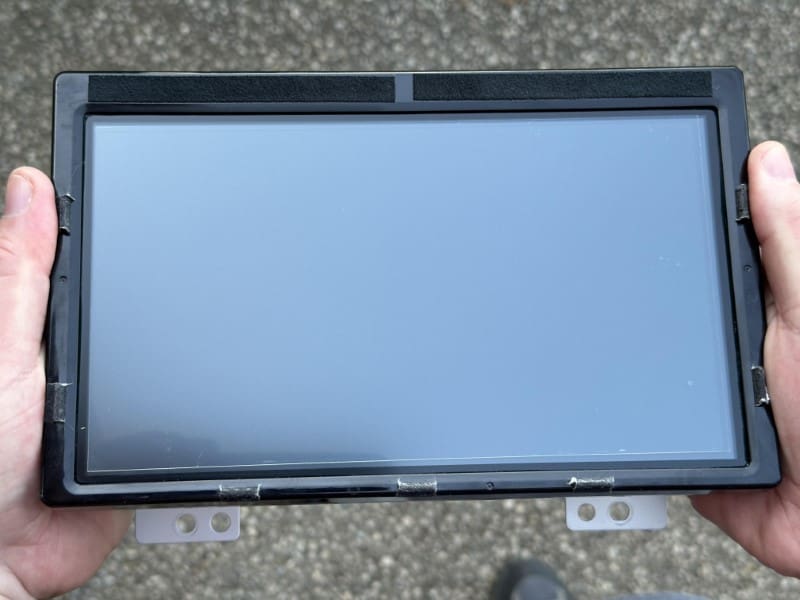
We will reiterate that this is not a project we’d suggest for the average do-it-yourselfer. If you crack a trim piece or scuff the vinyl around where you’re working, you could be looking at hundreds or thousands of dollars to replace the part. Professionals at a local mobile enhancement retailer can assist you with a project like this. Even if they don’t want to handle the screen restoration, they can remove and reinstall the display once you’ve polished off the oxidization. We also don’t suggest trying to do this while the display is in the vehicle. As mentioned, you don’t want any of the polish under the edges of the screen, and you don’t want to accidentally alter the finish on any surrounding trim pieces. The goal is to make the touchscreen display look brand new. This means the parts around the display should also be in mint condition.
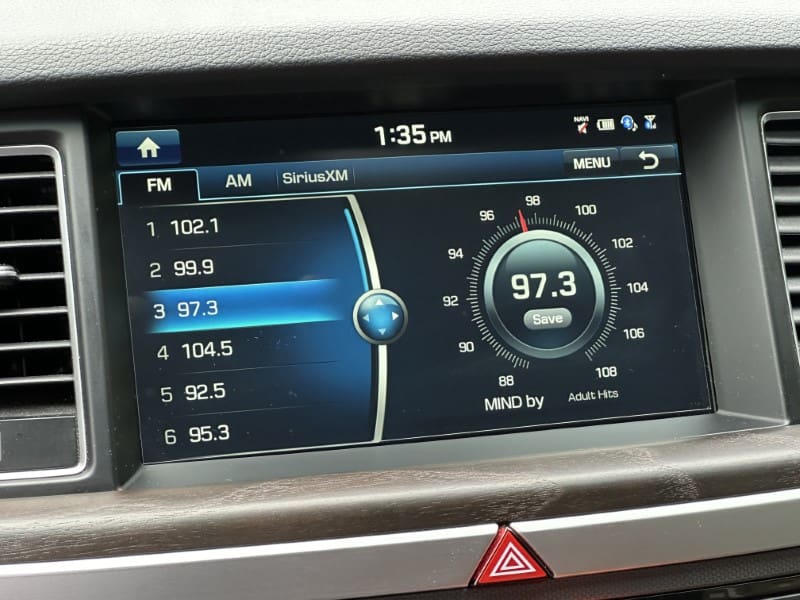
Our screen repair experiment and touchscreen restoration projects have turned out exactly as we had hoped. We can’t guarantee the same process will work with your radio, but if the finish looks similar to what’s shown here, it might be worth a shot. The dash of the Genesis no longer looks like something you’d find on a used car lot run by Bobby Bolivia.
