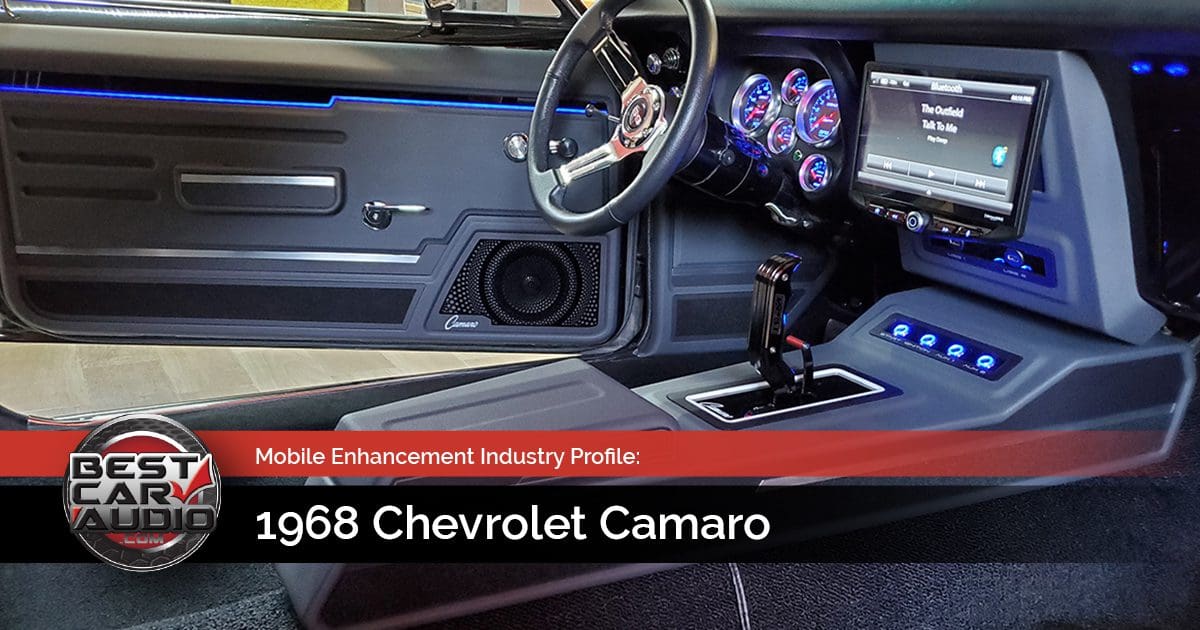
The late ’60s were the glory days for rear-wheel drive, V8-powered muscle cars. They looked fantastic, and most had massive engines that made them pretty fast. What they all lacked was a nice audio system. There wasn’t much available by way of car audio upgrades. Fast-forward five decades, and things have changed dramatically. Car radios have evolved from simple all-analog radio receivers to complex computers capable of recognizing and responding to voice commands, like a scene out of Knight Rider.
A friend of Fernando Berber López owns this 1968 Chevrolet Camaro SS. Fernando runs Nano’s Ingeniería en Audio (Nano’s Audio Engineering) in Guadalupe Victoria, Mexico, about 200 miles southwest of San Antonio or 220 miles west of Corpus Christi, Texas.
Fernando’s friend asked him to upgrade the Camaro’s interior with a modern feel, including an audio system with state-of-the-art communication features. Fernando has invested in a 3D scanner, a 3D printer and a 100-watt Creator 1409 CNC laser, which makes Ingeniería en Audio stand out from most of the installation facilities in North America. Combining those tools with an eye for style, he was able to design new door panels, rear quarter panel trim pieces, a new rear parcel shelf cover, a custom center console and a cool radio mounting plate. Let’s take a look at what Fernando and his brother and co-worker Daniel created.
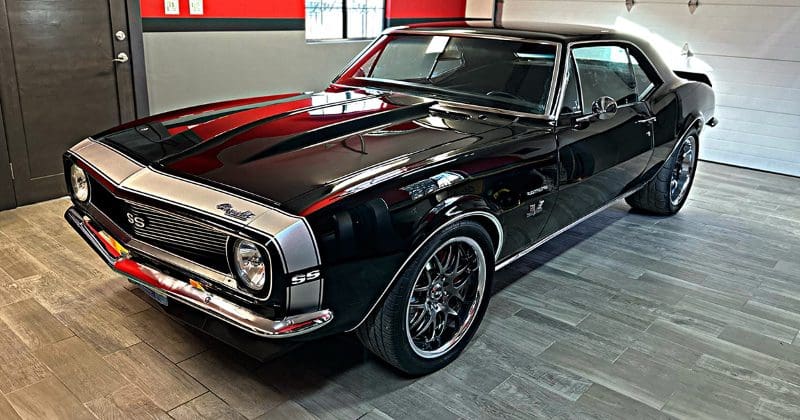
Camaro Door and Trim Panels
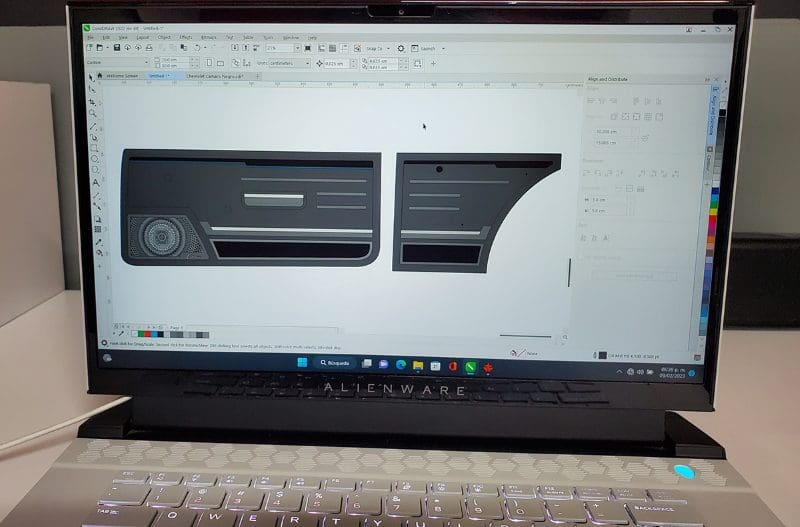
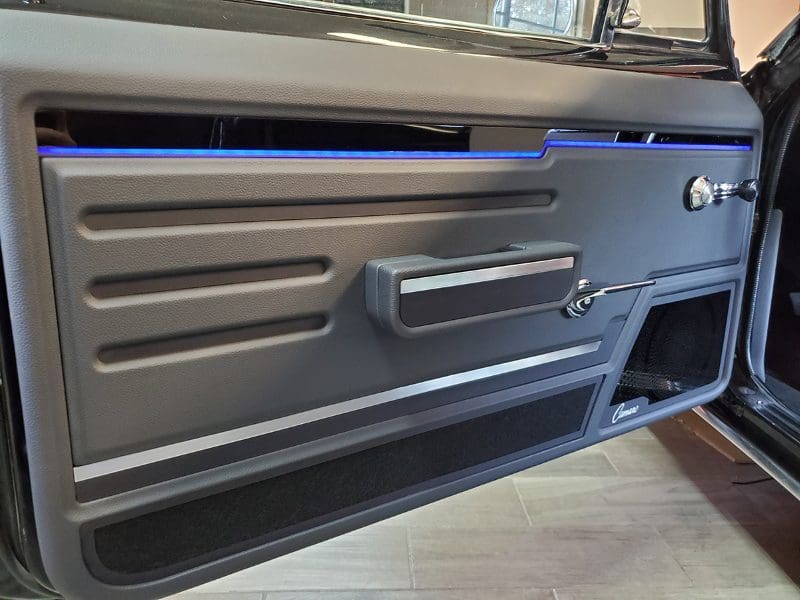
Automotive styling in the late ’60s was pretty simple: Door panels were flat with an armrest, window crank and a door pull. Many vehicles had carpeted sections on the lower part of the door to deal with being accidentally kicked as people got in and out. Fernando designed the door trim pieces and the matching quarter panel trims to be classy and elegant but with sharper angles and shapes to give them a modern look. Fernando created the design in Corel Draw and then cut the components on the Creator laser.
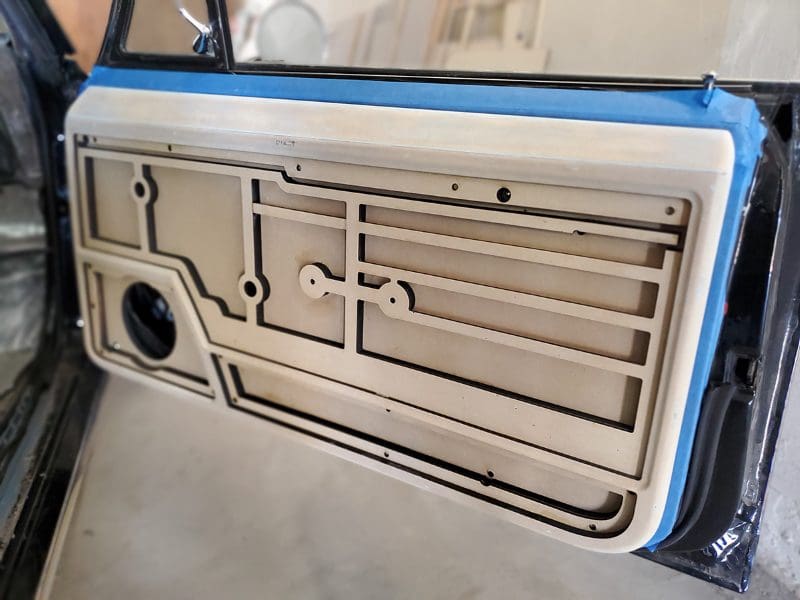
While the shape of the panel is crucial to the look of a project, so are the materials. Gray vinyl serves as the base layer for the new door panels. Accents in matte gray paint, aluminum and carpeting are a nod to the original styling. Translucent acrylic below the top aluminum insert allows the addressable RGB LED lighting to shine through. The rear of the door panel and around the speaker mounting location are coated with truck bed liner to protect those areas from water damage. The doors were treated with a layer of CTK sound deadening to help reduce noise transfer into the vehicle.
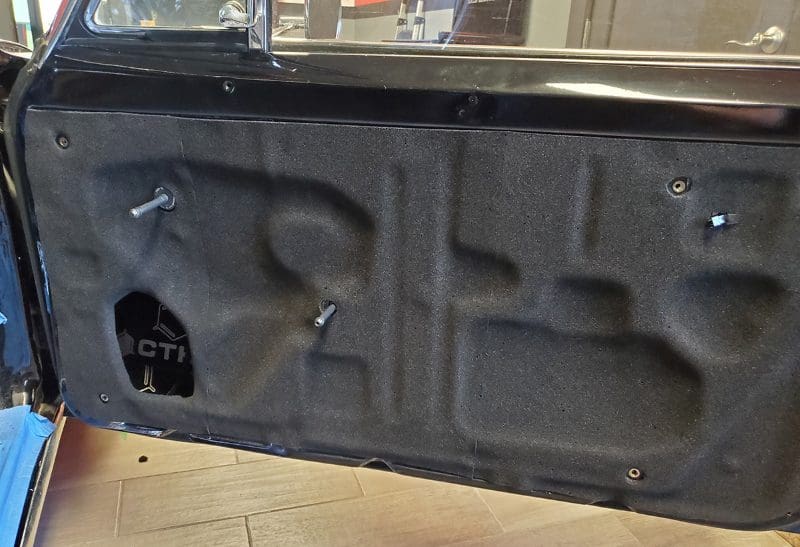
Of course, the audio system is a vital part of this upgrade. Fernando included room for a Helix S62x 6.5-inch coaxial speaker in each door. A multipiece grille cut from acrylic includes the Camaro script logo on the outer portion. Neodymium magnets hold the grille to the framework securely and eliminate the need for fasteners.
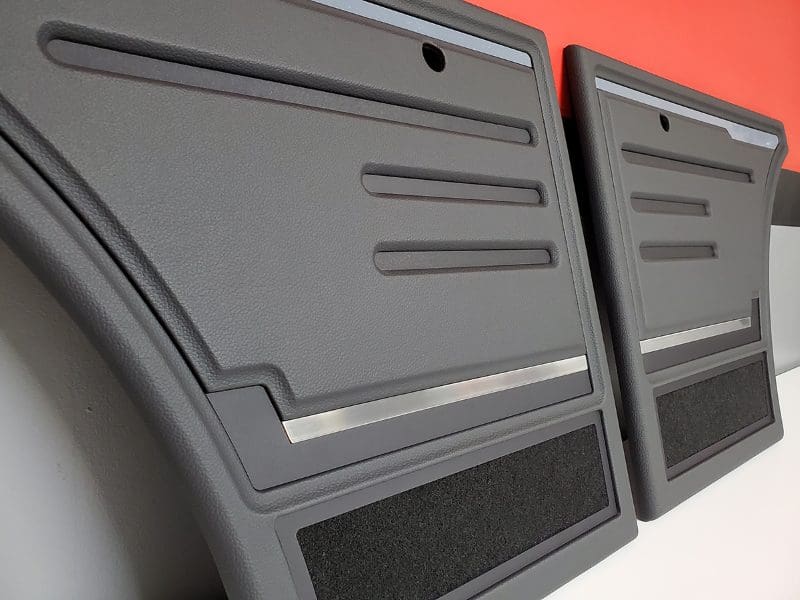
Fernando continued the styling from the door panels into the trim pieces of the rear quarter panels. He included the carpeted lower inserts, as well as the horizontal strakes and aluminum pieces for continuity.
Camaro Rear Parcel Shelf
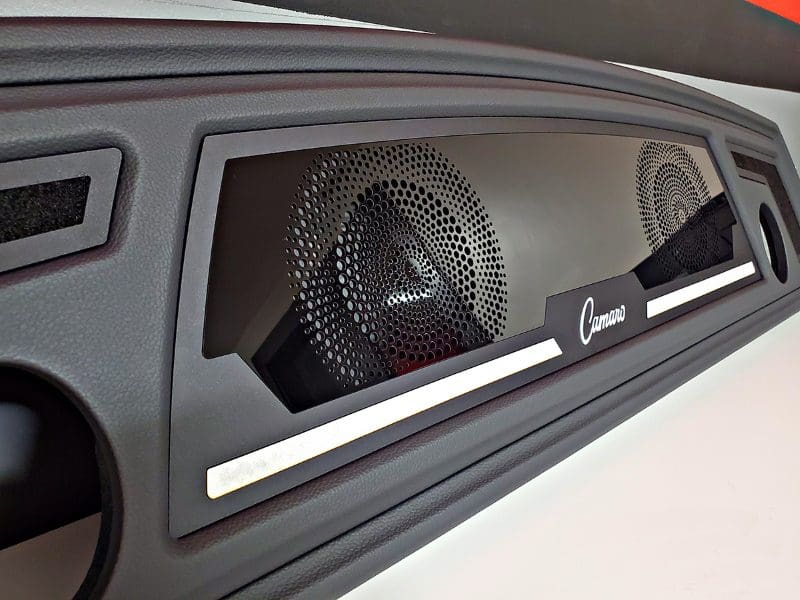
The rear parcel shelf was the next part of the project. Fernando wanted to continue with a clean and modern theme while adding a second set of speakers. The shelf needed to fit around the roll cage tubes. The speaker grille pattern from the doors repeats on the rear parcel shelf grilles.
Custom Center Console and Radio Trim
The next project was to create a custom center console and radio trim piece for the Camaro. We’ve seen many custom consoles, and very few genuinely look like something that might have come from the factory. The console Fernando constructed looks stunning! He included a row of switches that act as the vehicle’s ignition, start and auxiliary controls. There’s also black acrylic cut for the new shifter and its reverse release lever.
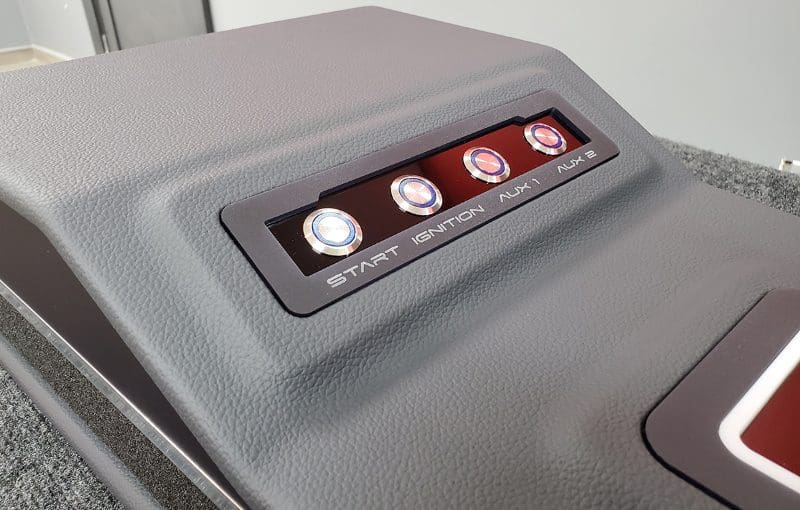
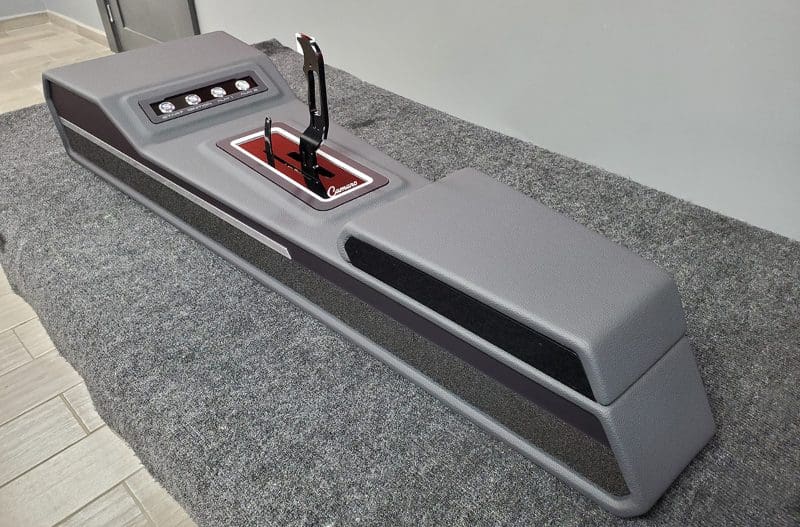
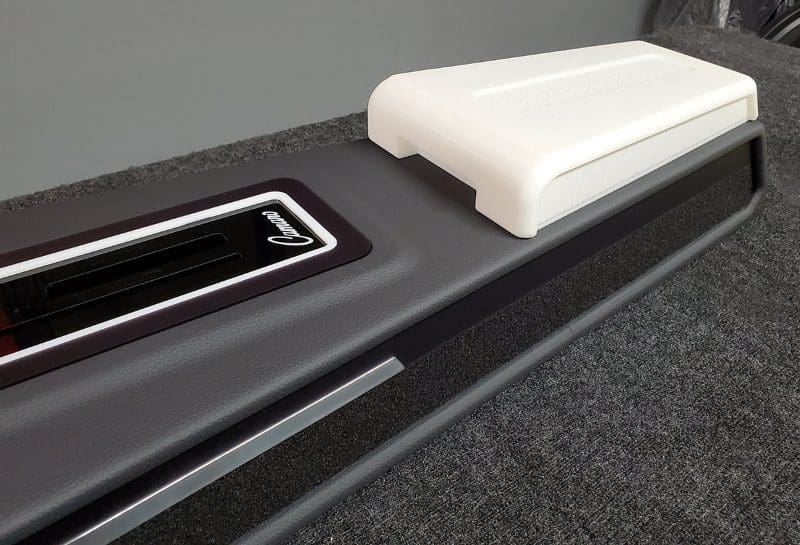
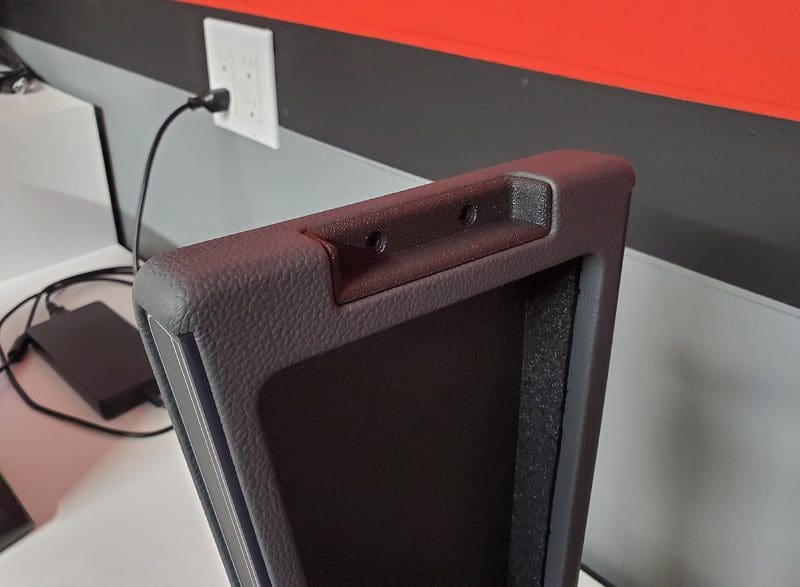
Though you can’t tell by looking at it, the cover at the rear of the console lifts to reveal a small storage compartment. This cover was designed in Fusion 360 and 3D-printed. The goal was to make it rigid and as light as possible. A heavy cover tends to break whatever hinge it’s attached with. Speaking of hinges, Fernando chose a soft-close kitchen cabinet hinge for its smooth operation. Note that the cover was designed to be easy to wrap in vinyl and includes a 3D-printed finger slot trim piece at the front.
The last piece of the puzzle is a Stinger Heigh10 radio for the dash. With everything else modernized in the interior, bolting a radio into the stock location seemed like a letdown. Fernando set out to create a trim piece that would help conceal some of the mounting brackets for the Heigh10’s 10-inch display while adding easy access to a pair of USB ports for music and smartphone connectivity. The remainder of the audio system includes an M Four amplifier wired to the radio with Stinger interconnects and Rockford Fosgate wiring to the speakers and battery.
Like the center console, the trim piece is made from MDF but includes several CNC laser-cut parts surrounding the USB ports. With his keen eye for styling, Fernando knew precisely where to add shape and layering to give the piece a factory-like look with modern style.
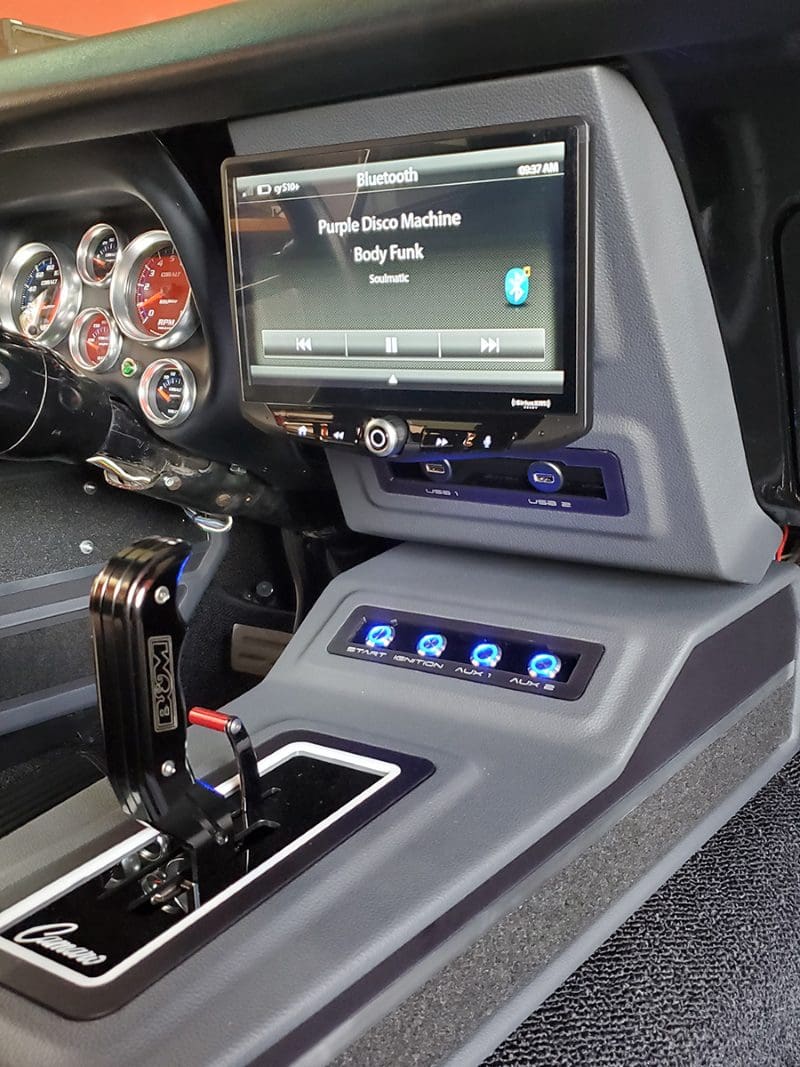
Custom Classic Camaro Interior
As we’ve mentioned, the highest praise possible for any vehicle upgrade is that the results look like something that might have come with the vehicle from the factory. Fernando Berber López of Nano’s Ingeniería en Audio in Guadalupe Victoria, Mexico, knocked this project out of the park. Not only does it look stunning, but the behind-the-scenes images we’ve seen give us the confidence to know that everything was executed professionally. The owner of this 1968 Camaro should be very happy with the vehicle.
If you live in northeastern Mexico and are looking for a car stereo shop that does high-quality work, drop by Nano’s Ingeniería en Audio. You can learn more about them and see additional examples of their work by visiting their Facebook page or Instagram feed.
