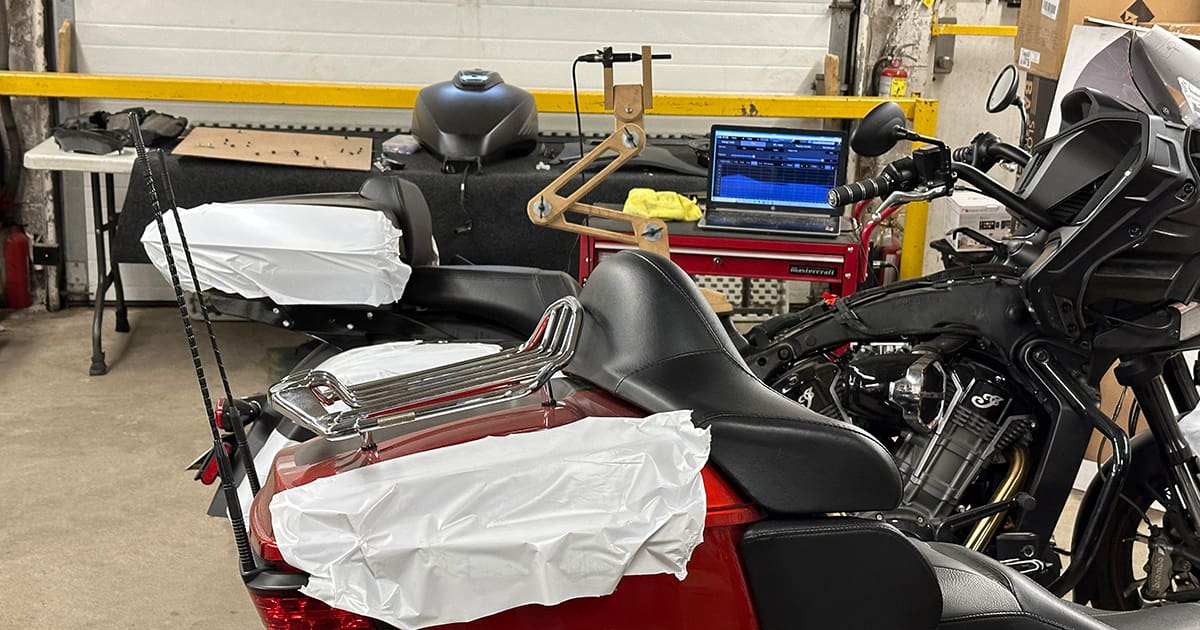
Choosing a shop for your motorcycle audio system upgrade is a crucial decision. While the process may seem similar to getting work done on a car, truck or SUV, there are some specific considerations. The quality of the shop you choose can affect the safety of your vehicle and the quality of the work. We’ll delve into six factors you should consider before entrusting your beloved motorcycle to a shop for an audio system upgrade.
1. Paint and Chrome Protection
Any shop that will be working on your vehicle should have adequate space to ensure that no damage will occur as the technician moves around. This is particularly crucial for motorcycles, which often boast custom paint and extensive amounts of chrome. Even the most minor scuff or scratch could result in significant repair costs. Given the unique nature of some custom airbrushing, it can be close to irreplaceable. Rest assured, a reputable shop will prioritize the preservation of your motorcycle’s condition during the audio system upgrade.
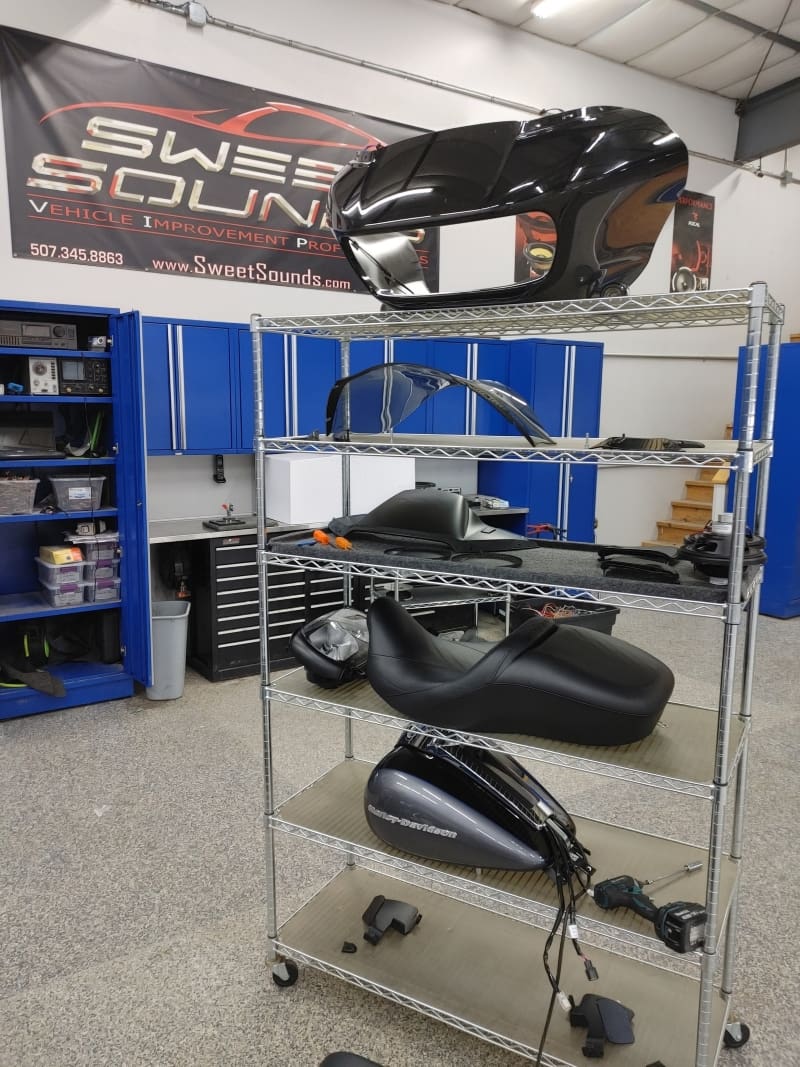
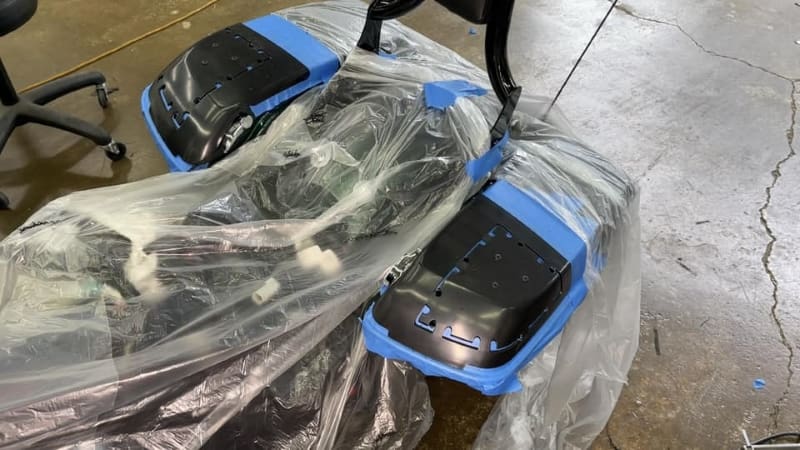
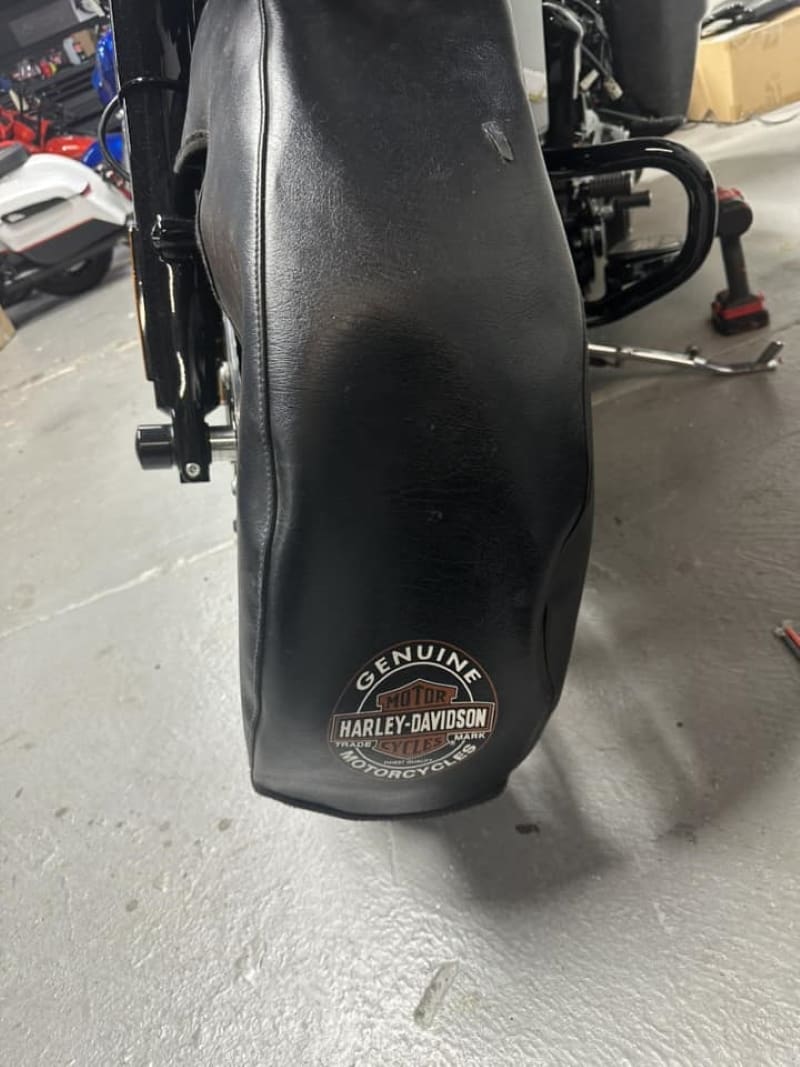
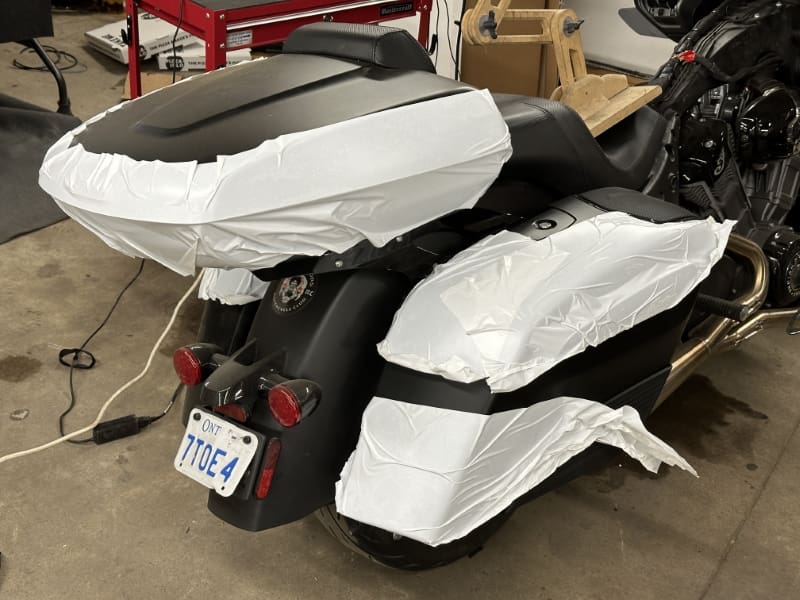
When a professional shop is working on your touring bike, they’ll likely have to remove the seat, front fairing cover and the gas tank. In more advanced installations, the trunk, saddlebag lids or the entire bags will need to be removed. These painted surfaces should be covered in a crash wrap film or temporary paint protection tape. These thin plastic films, with a gentle adhesive, can be applied over the painted surface. They will protect the paint from scuffs and scratches during handling. The same films can be placed over chrome parts to protect them as the wiring is upgraded or speakers and amplifiers are installed. As they say, “An ounce of prevention is worth a pound of cure.”
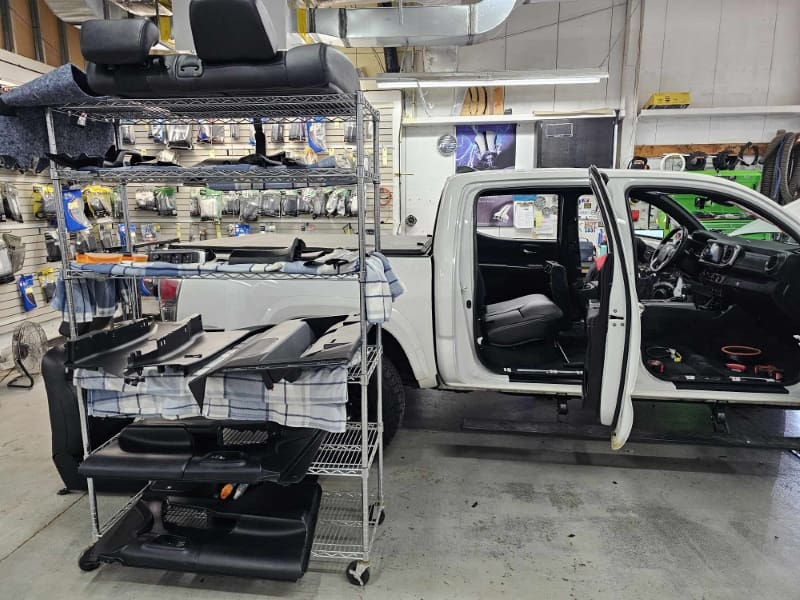
Parts removed from the bike should be stored on a padded table or rack, ensuring their safety. The storage should be far enough away from the bike so that the technician can’t accidentally bump into it while working. Many shops have padded shelves on wheels to store tanks and fairings. These can be rolled away while work is underway and returned to the bike once system testing and calibration are complete. This meticulous approach ensures that bike parts are never left on the floor, even on a piece of carpet, where they’re too easy to bump or kick as the technician moves around.
Finally, the shop should be organized and reasonably tidy. A busy facility might have zip tie ends or wires on the floor around an installation. However, once the work is done, those items should be swept up, and tools should be back in toolboxes. The condition of a shop’s installation bay can give you a good idea about its attention to detail.
2. Wiring and Signal Connections
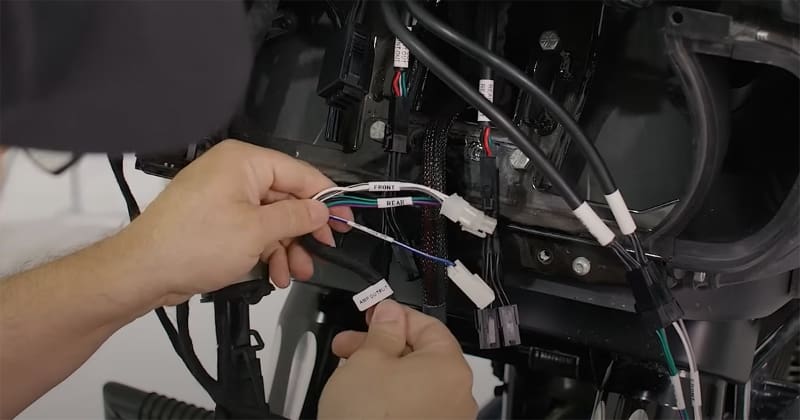
How electrical and signal connections are made is more specific to late-model bikes under warranty but applicable to all motorcycles. If the factory warranty still covers your motorcycle, then you’ll want to make sure the technician performing the audio upgrades is using wiring with connectors that plug into the factory radio or speaker plugs. Something as simple as cutting a speaker connector off can be an excuse for the manufacturer to deny a warranty claim.
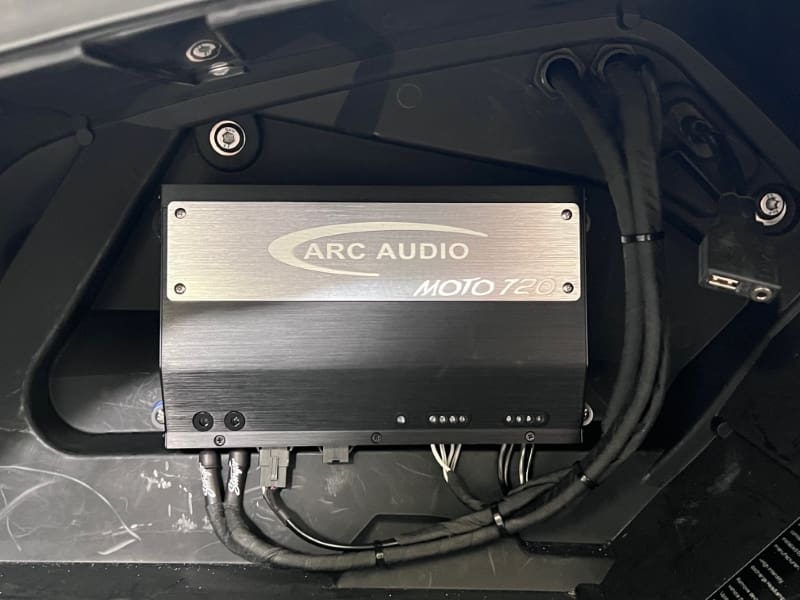
Companies like Rockford Fosgate, ARC Audio and Motorrad Audio have harnesses for amplifiers and speakers that plug into the wiring on a Harley-Davidson or BMW motorcycle without the need for any modification. You and I know removing a two-pin speaker connector from a wire harness isn’t a valid reason to void a warranty, but some manufacturers will look for any excuse. It’s best to avoid any chance of having an issue by using a proper harness or adapters.
3. Radio and Signal Interfacing
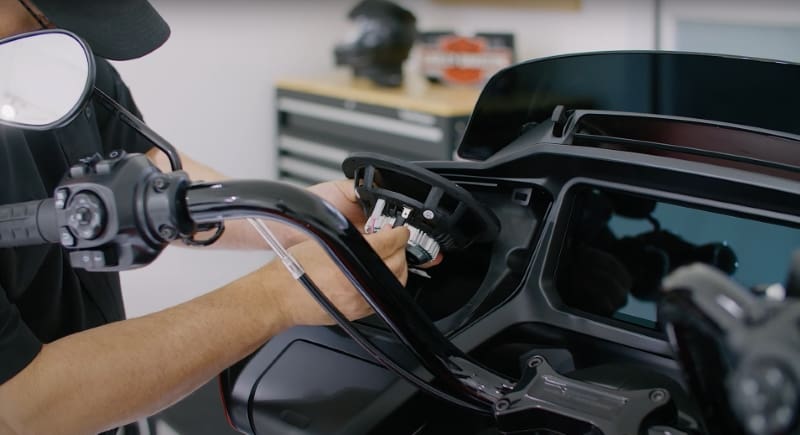
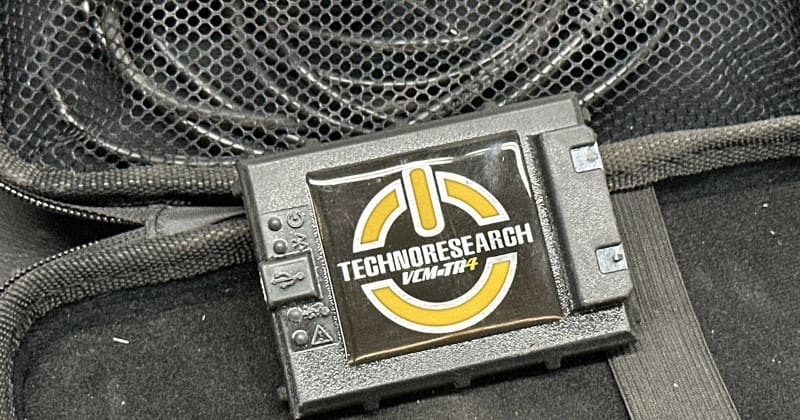
One of the most challenging aspects of working on modern motorcycles is extracting a clean, flat, full-bandwidth audio signal from the factory-installed radio. These radios often include crossovers, equalization and even speed-dependent volume features. In the case of Harley-Davidson motorcycles, the shop you’re working with must have the appropriate tools to reflash the factory radio to a setting that eliminates these filters and equalization.
A second option that works even better is to use an IDatalink Maestro AR module with a digital signal processor like the Rockford Fosgate DSR1 or an ARC Audio PSM Pro. You can also use a DSP-equipped amp from ARC Audio or Audison with the Maestro AR. Using the AR prevents the radio from being flashed back during a service visit, so you’ll be sure the audio system on your bike always sounds fantastic.
If the shop doesn’t discuss how they’ll ensure that the audio signal is clean, be sure to bring it up.
4. Wiring and Charging Systems
It takes power to make power. Most modern motorcycles rely on relatively small alternators to provide current to the electrical system. The alternator must power the bike computer, engine management system, ignition system, lighting and infotainment system. That means there isn’t usually much left for a big aftermarket stereo.
The most important consideration when upgrading your motorcycle’s sound system is choosing the most efficient amplifier available. We’ve seen several amplifiers over 93% efficient at full power. We’ve also seen many that are down around 65%.
To put these numbers into perspective, let’s say you’ve upgraded your bike with a high-current stator from Drag Specialties and now have 54 amps of current available. We’ll ignore the bike’s electrical needs to provide a best-case scenario. If your amplifier is 93% efficient at full power, it can produce almost 700 watts from 54 amps of current. If the amp is only 65% efficient, you’ll only get about 491 watts. The rest of the energy from the motorcycle charging system is wasted in the form of heat in the amplifier.
Given that motorcycles are limited in their ability to provide large amounts of current, you’ll want to ensure that the wiring used to connect the amplifier(s) to the battery is adequately large. Even though the distances are much shorter than in a car or truck, we recommend at least all-copper, full AWG-spec 8 AWG wiring for power and ground connections to minimize losses. If the amp is larger and might draw more than 60 amps of current, then 4 AWG should be used. There is no sense in skimping on wire and wasting power.
Inspect some of the bikes the shop has built. You might be in the wrong place if the wiring is inadequate.
5. Battery and Charging System Upgrades
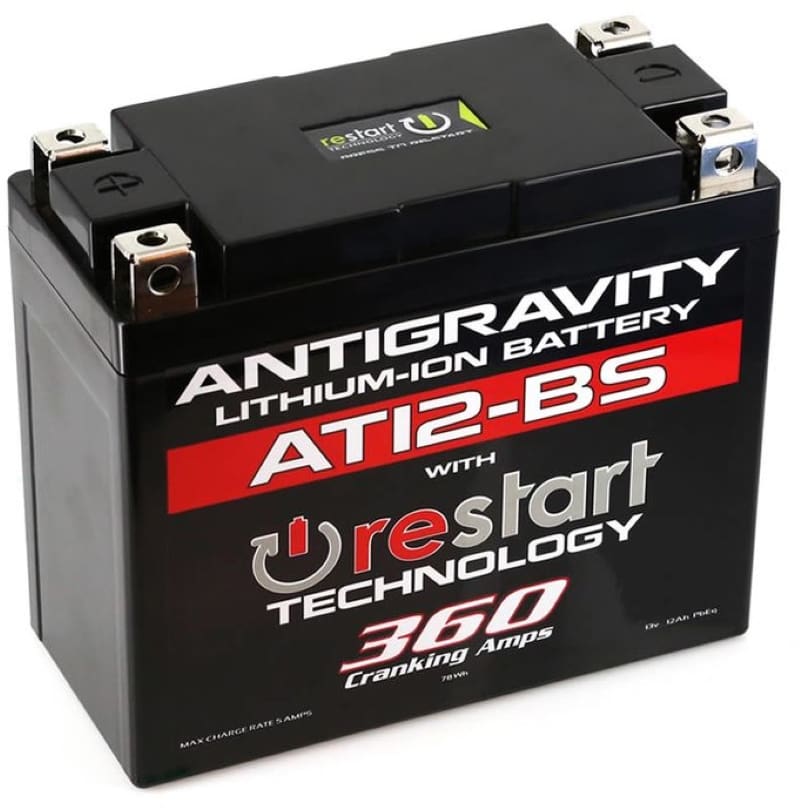
So what happens when the charging system on the bike can’t keep up? The amplifier draws current from the battery. As such, ensuring that you have the highest quality, best condition battery possible is crucial to the performance of your motorcycle stereo system. This is especially true if your bike has subwoofers and a dedicated amplifier. At the very least, the shop should recommend that you have a fresh AGM battery installed if the bike is more than a few years old. However, a lithium battery from a company like Antigravity or BS Battery is a much better option. If you have multiple amplifiers, we’d go so far as to say that lithium is a necessity.
If the shop you’re researching doesn’t ask about the condition of your battery or suggest an upgrade for a larger sound system, beware.
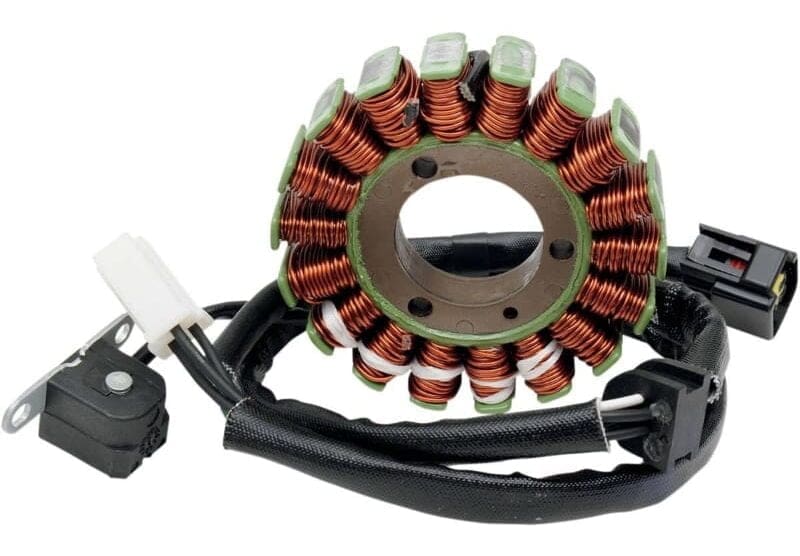
If you expect to play your music at high volume levels for long periods, you’ll likely want to upgrade the charging system on your motorcycle. Many companies offer high-current alternators or upgraded stators. Ensuring that your audio system has the power it needs to function reliably is essential to its longevity.
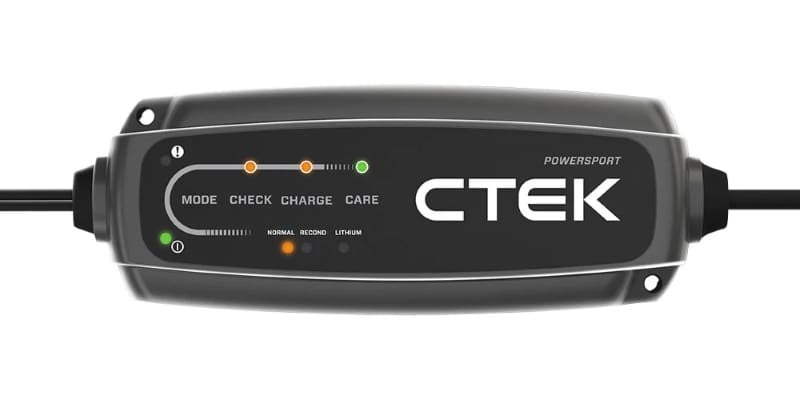
If you play your motorcycle’s audio system with the engine off, then it’s paramount that the battery or batteries are adequately recharged. Assuming the alternator will handle this is a recipe for disaster. Invest in a high-quality intelligent charging solution and make sure the battery is 100% topped up.
6. Motorcycle-Specific Products
One final issue is the audio equipment the dealer suggests for your bike. First, it must sound good and be capable of playing loudly without failing. You’ll quickly learn that most motorcycle speakers aren’t great at reproducing bass frequencies. We’ve written a detailed article on that very topic. As such, if you want a system that plays loudly and produces some bass, you must add subwoofers in the saddlebags.
Speakers and subwoofers need to be designed to handle whatever environment you ride in. If your bike gets wet in the rain, a speaker with a big horn tweeter will collect water and not sound very good. Speakers should be manufactured with UV-resistant materials. Brightly colored cones or graphics might fade after prolonged sun exposure, making your audio system look dated. Further, UV degradation of plastics is the equivalent of metal rusting. The materials may become brittle and crack easily.
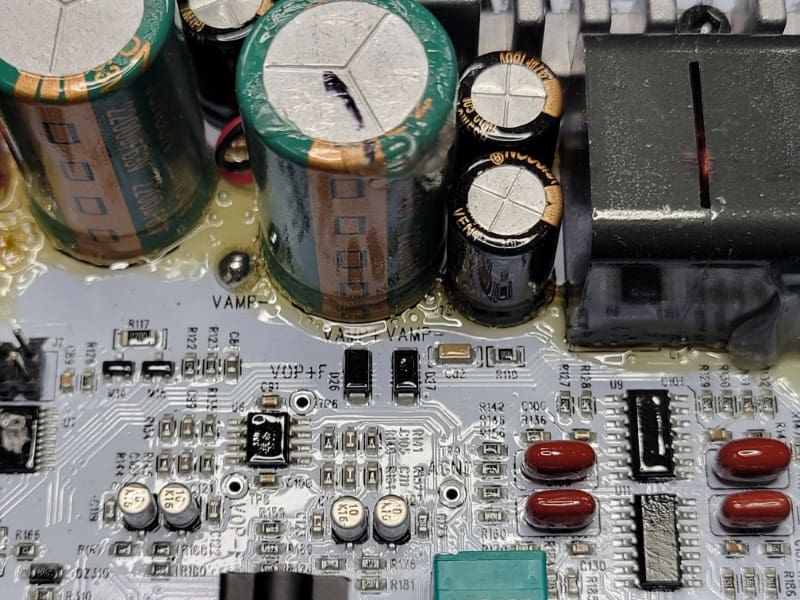
Aside from fitting into a fairing, trunk or saddlebag, the amplifiers a shop suggests should be weather-resistant and have a design that prevents damage from prolonged exposure to vibrations. Large internal components like inductors, capacitors and transformers should be glued to the circuit board to keep them from vibrating, which can cause the connecting leads to break.
Be Picky About Who Works on Your Motorcycle
Choosing a shop to upgrade a motorcycle audio system isn’t easy. Many shops do a lot of work but use poor-quality products. We often see good products installed and misconfigured. You need to be fanatical about researching every aspect before committing to letting them modify your motorcycle.
Start your research by looking at the shop’s website. Do they have examples of their work? Look at their social media. Are they professional and organized? From there, make a list of shops you want to visit. Say the same things at each location and pay attention to how well they listen and what they suggest. Ask for a look at their installation bay. Ask to inspect and audition the work they’ve done. Research the products they recommend.
One word of warning: Don’t confuse popularity with expertise. We recently assisted a consumer who had traveled a long distance to have work done on their motorcycle, only to be disappointed with the results. We helped them find a reputable local shop to fix a few items that could have been done better. There’s no reason to feel pressured to use a specific product or car audio shop. Do your research. The time you invest will pay off in satisfaction at the end of the project.
